Sign in with Facebook
  Sign in with Google
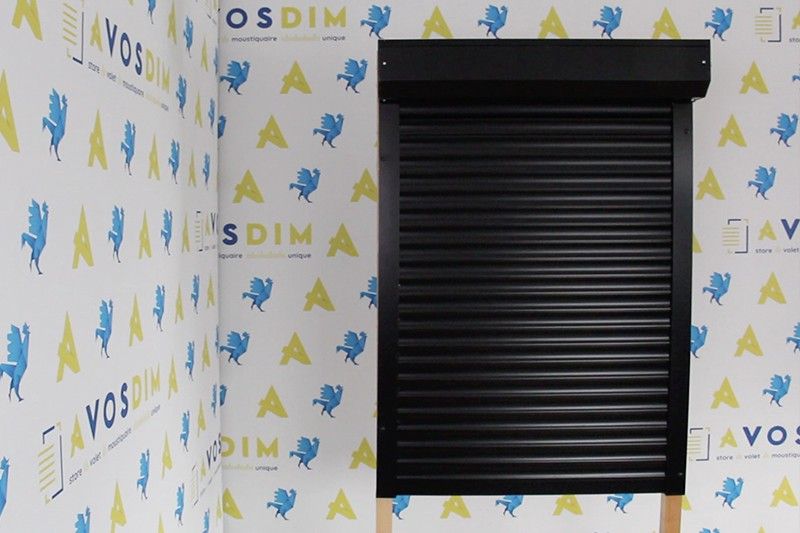
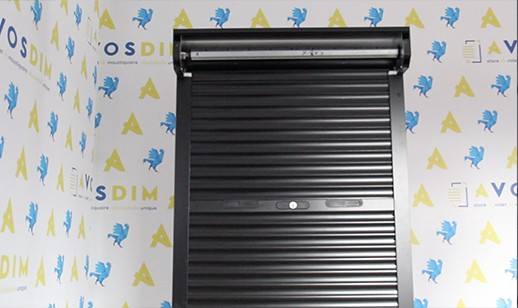
 Want to secure your Roller Shutter? Follow these simple steps for installing a locking slat as well as the metal pull handle.
Good to know:
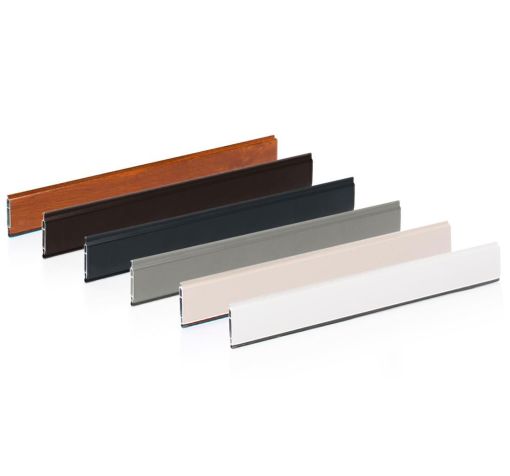
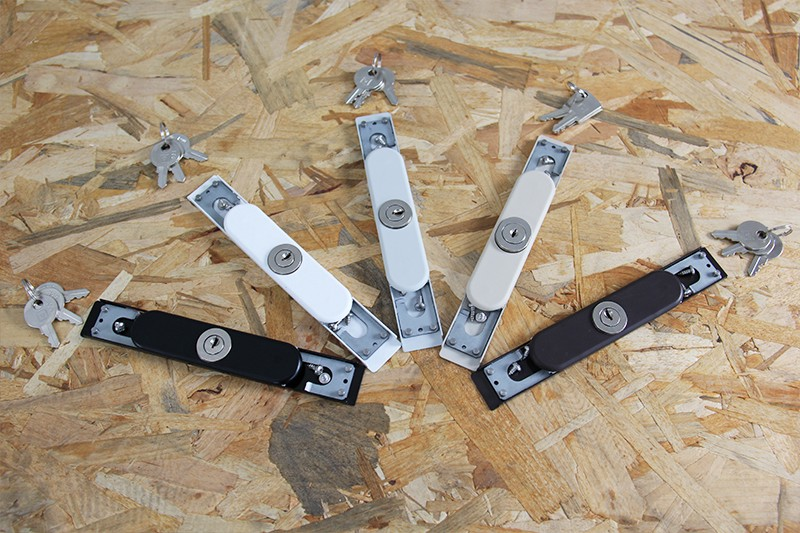
AvosDim stock ready to install locking slats and pull handles! Supplied with 3 keys to secure your Roller Shutter. The pull handles are supplied 2 per side. The metal pull handles are optional. They also help for use with Roller Shutters where a pull rod is required.
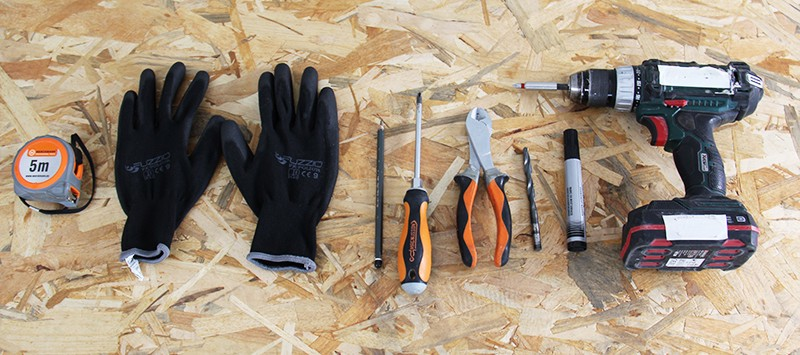
Necessary tools:
- 1 Phillips screwdriver
- 1 Drill
- 1 Pair of gloves
- 1 Cutting pliers
- 1 Tape measuree
- 1 Marking pen / pencil
- 2 Drill bits 6mm / 10mm
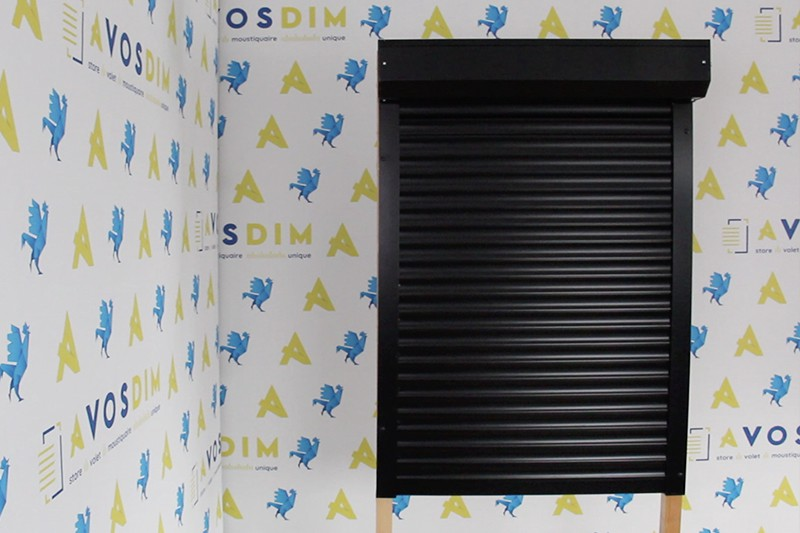
Before proceeding, decide what height to place the locking slat so as to identify the correct slat to remove.
Step 1: Removing the slat for installing the locking slat
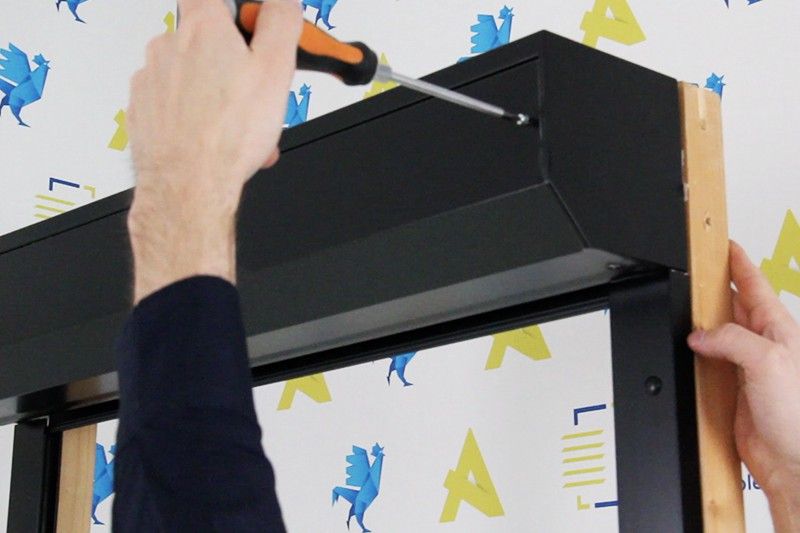
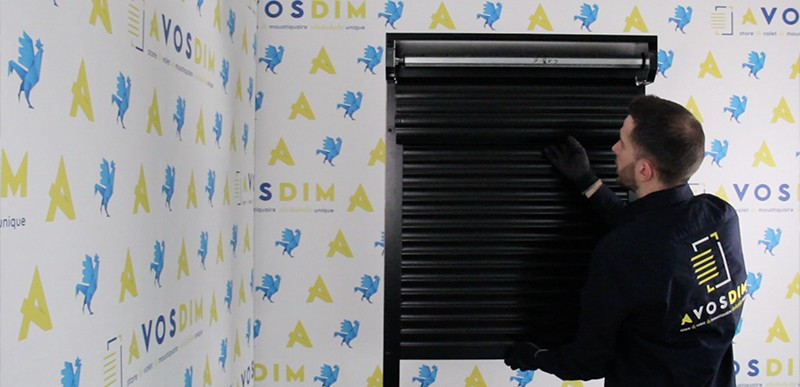
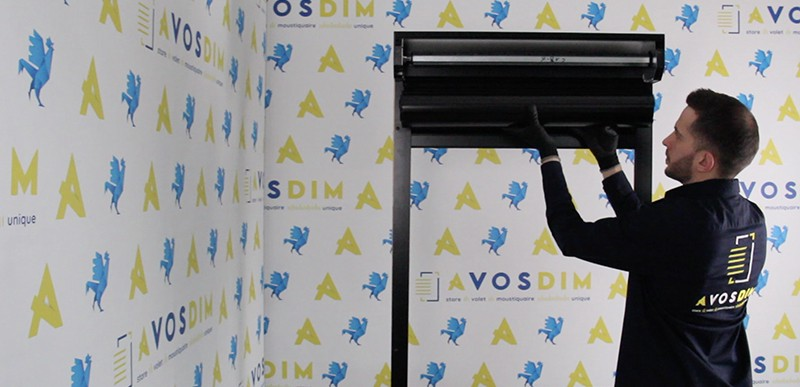
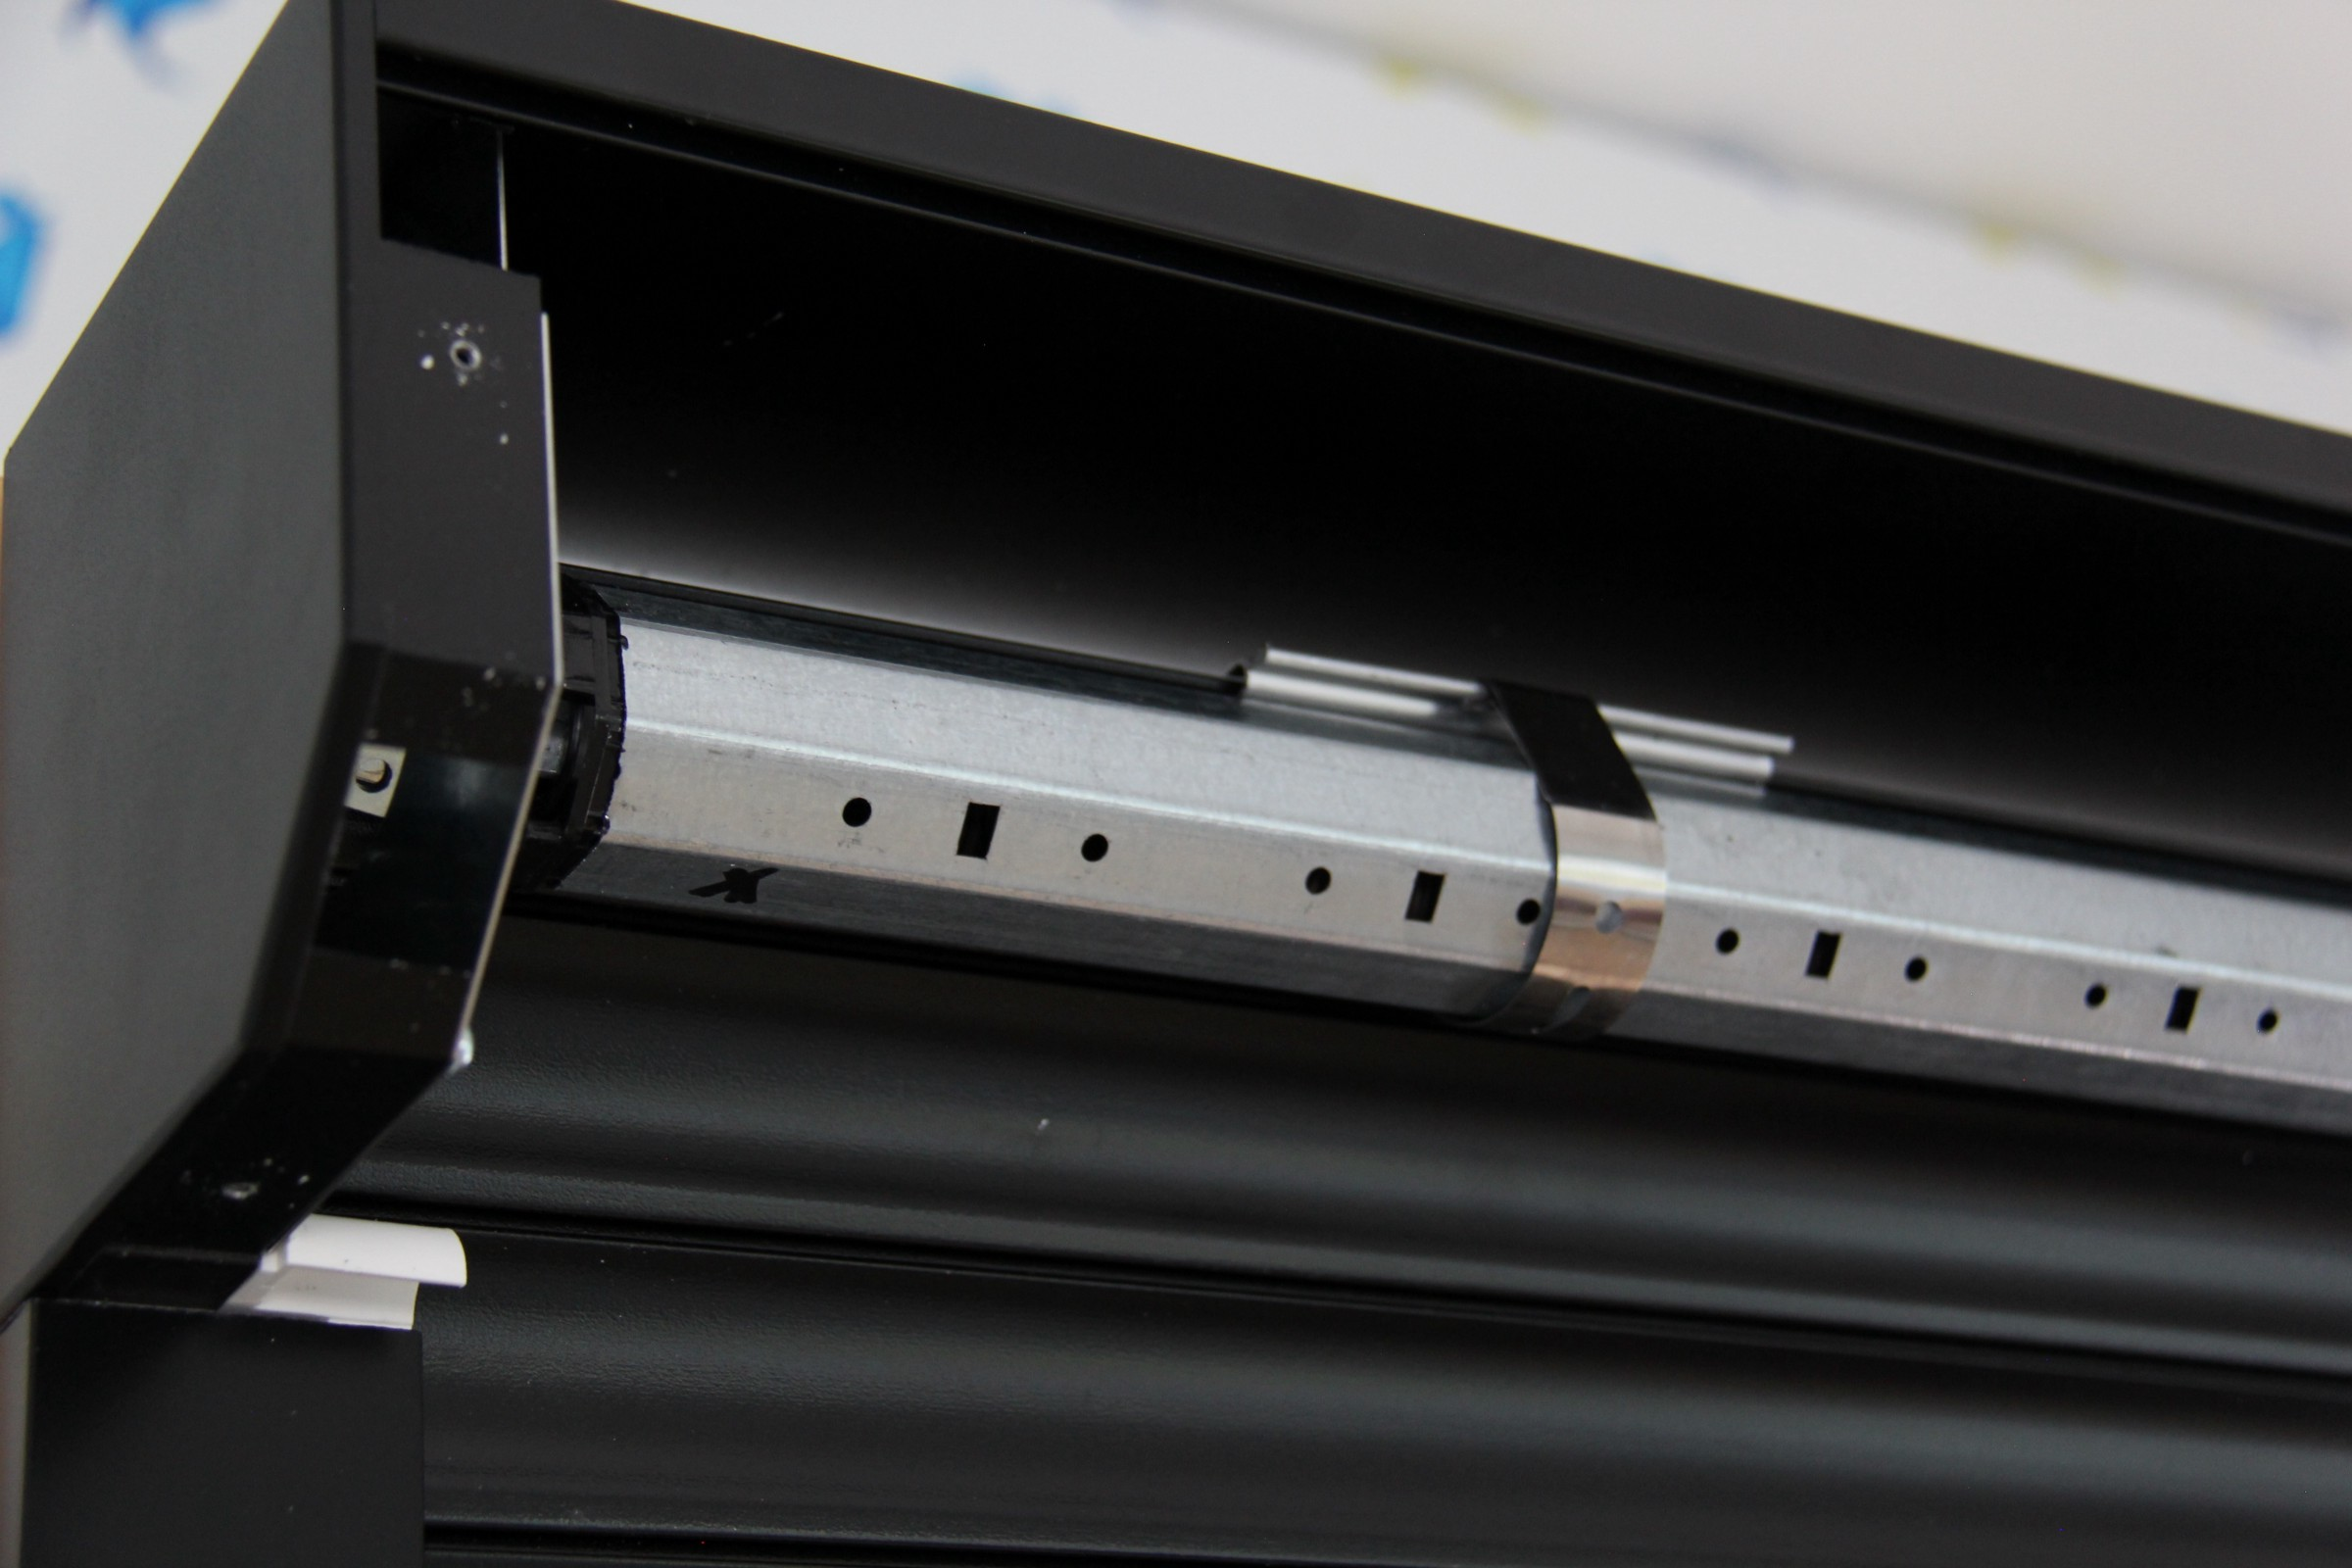
– Unscrew the two screws from the roller box using a Phillips screwdriver. This takes you inside your Roller Shutter. We recommend you firmly hold the roller box to prevent it from falling and being damaged. The inside of the box is composed of a roller tube with 2 slat curtain clips and a tension spring inside the tube.
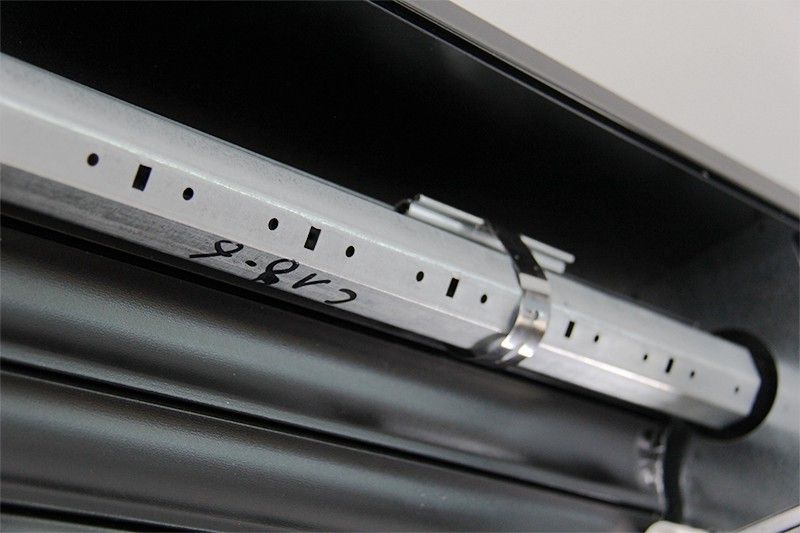
– Free the slat curtain from the tube by gently detaching the 2 flexible slat curtain clips. The clips have sharp edges, wearing gloves will prevent injury. It is also important to hold the roller tube firmly to keep the tension, or let it relax gradually.
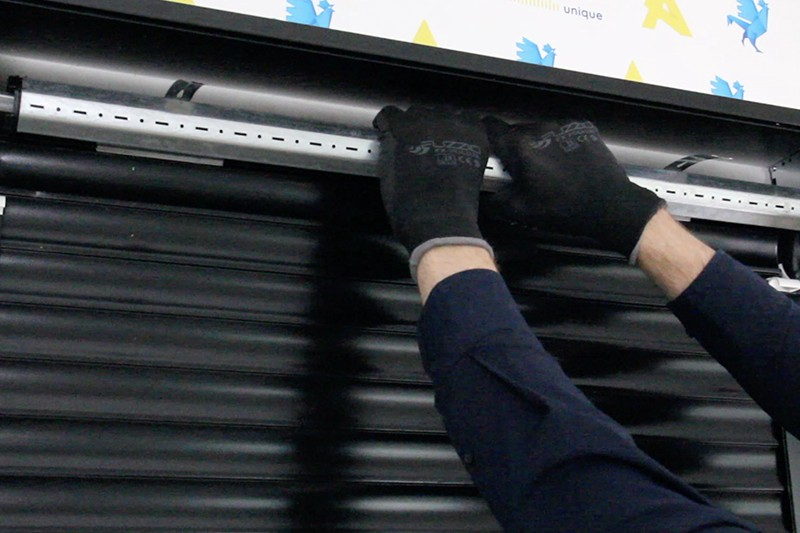
– Remove the 2 slat curtain clips.
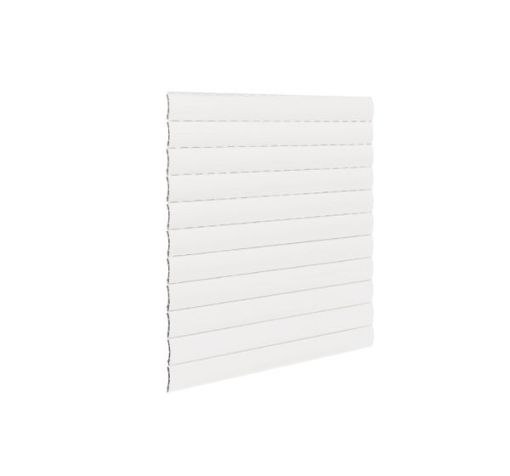
Now we will replace the slat with a locking slat previously ordered on AvosDim in the appropriate width.
– Locate the slat to be replaced. Feel free to leave a mark on it. We stuck a piece of tape on it to identify it. A standard and convenient height is 1m up from ground level.
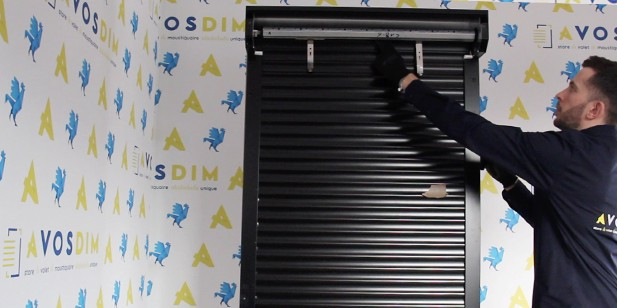
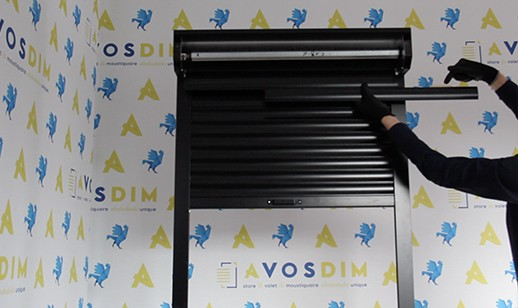
– Raise the Roller Shutter slat curtain gently under the roller tube.Be careful not to scratch it. You can help yourself by putting one hand under the slat curtain or with the help of another person depending on the configuration of the cover and roll up the slats as things progress.
– Raise the slat curtain up to the slat you wish to replace.
– Cut the necessary slat end inserts — if they are there.
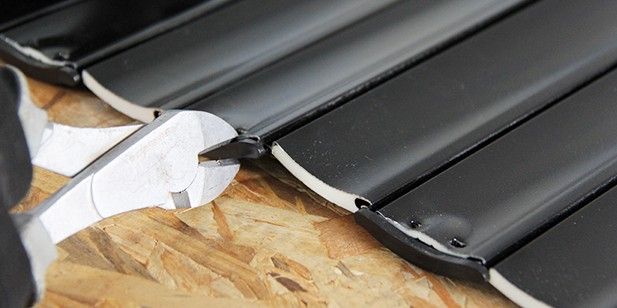
– Pull out the top section of the slat curtain, then the slat you intend to replace.
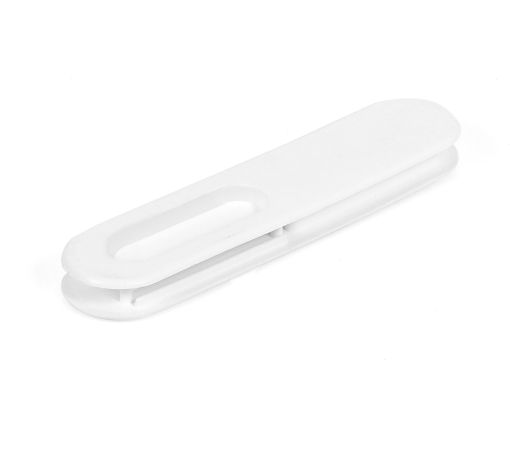
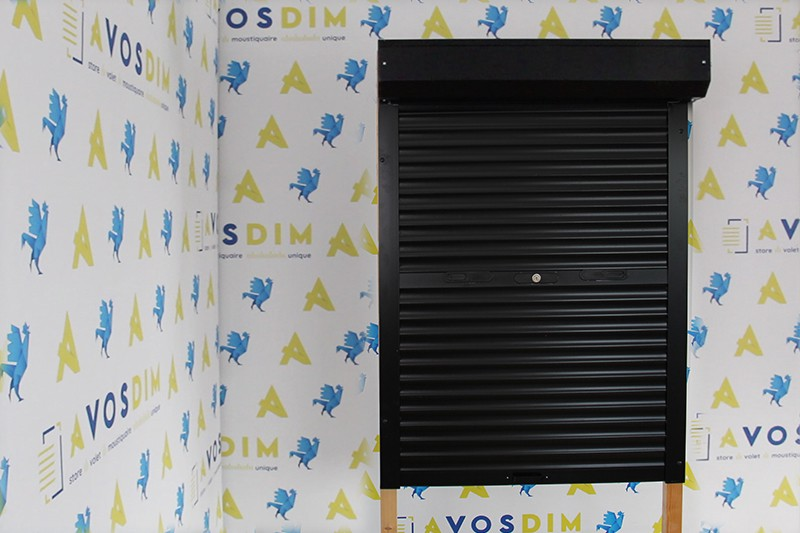
– Insert the locking slat slowly, positioning at mid-height. It can also be placed at the bottom of your Roller Shutter. We recommend having the lock face positioned outwards.
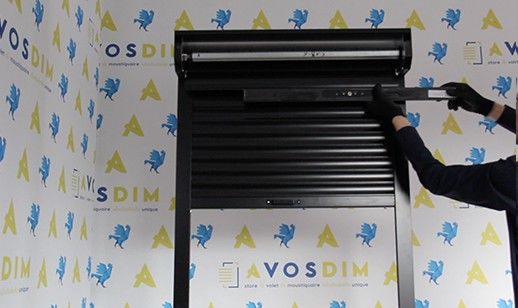
– To finish, replace the top section of the slat curtain. Press the locking slat on the edge of the box, helping to reposition the top section of slat curtain.
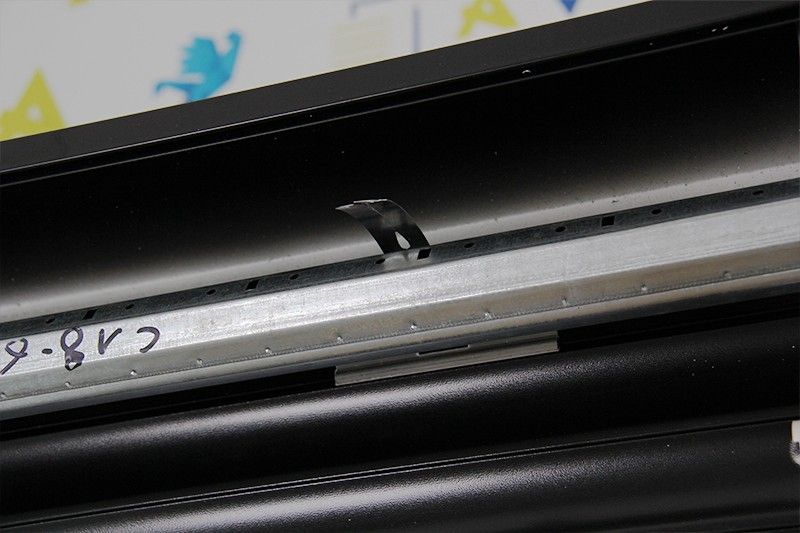
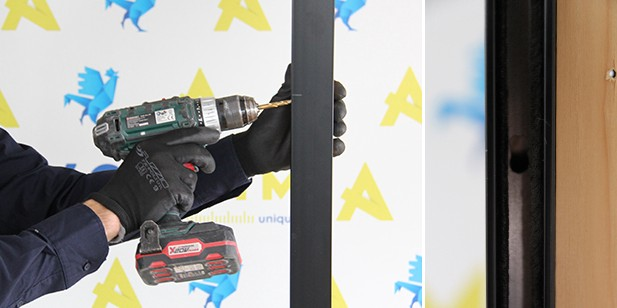
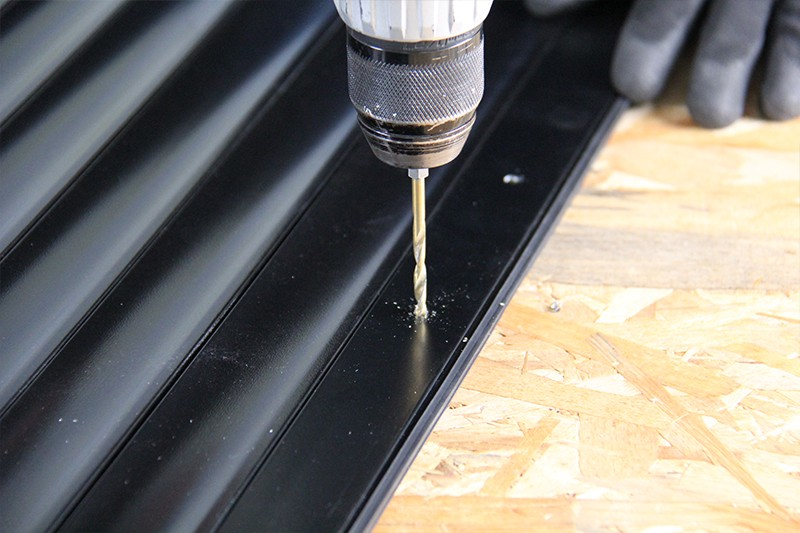
– Locate and mark the correct height of the lock bar on the two side tracks.
– Drill each side track twice with a 10mm drill bit.
– File if necessary.
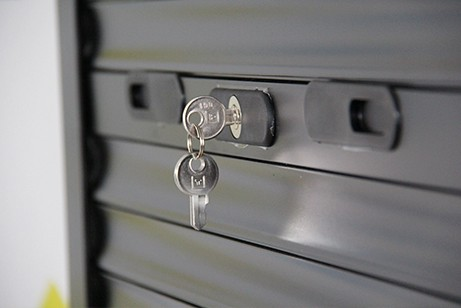
– Test by turning the key in the lock.
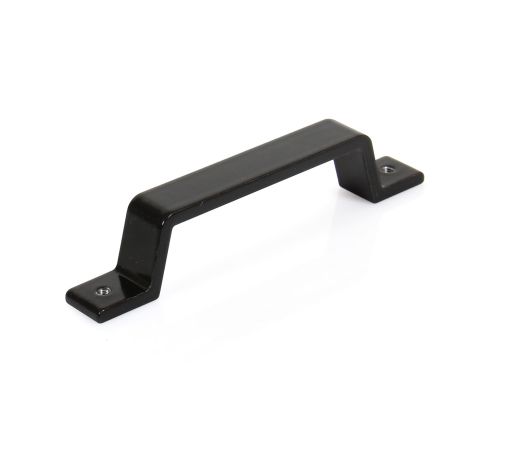
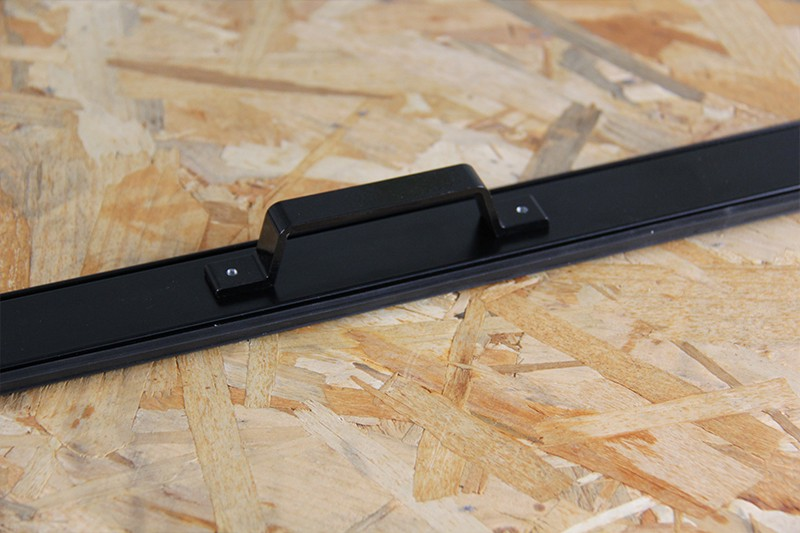
Step 2: Installing the metal pull handles
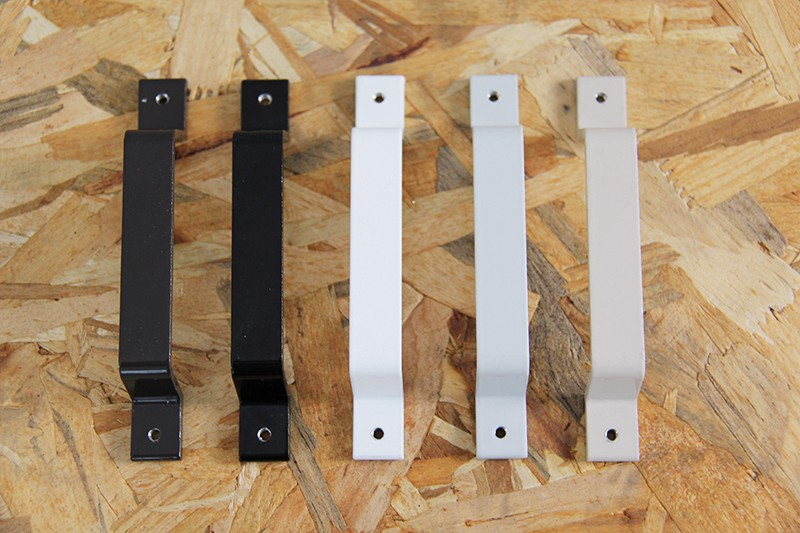
Here, we recommend that you install a pull handle on the the bottom slat to easily handle your Roller Shutter. The form of the handle makes it particularly compatible with a pull rod, allowing full control of Roller Shutters with awkward heights or positions.
Usually the handle is screwed internally (depending on shutter configuration), however for our video the handle is placed outside. Of course, this can also be done on an installed roller shutter. For a better demonstration we did this on a table.
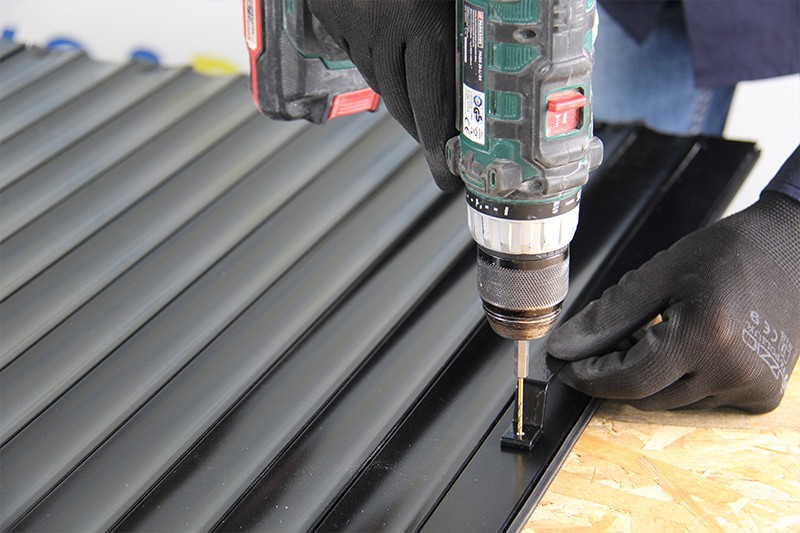
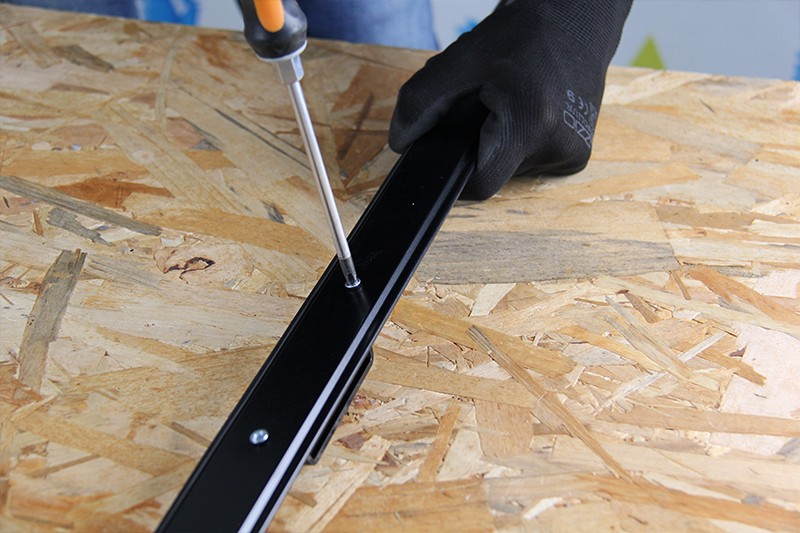
– Place the handle in the centre of the the bottom slat and line up the handles.
– Fix with the help of 2 screws (diameter 6mm) the handle on the the bottom slat.
Step 3: Re-install the slat curtain
– Fix the flexible slat curtain clips onto the Roller Shutter roller tube.
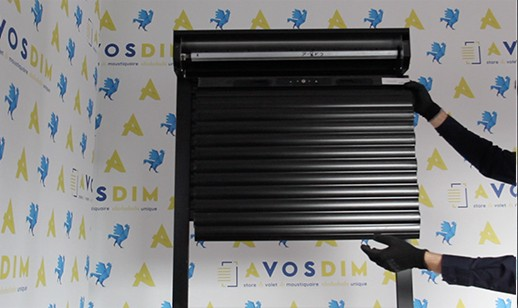
– Raise and lower your Roller Shutter to test it and ensure the alignment and rolling of the slat curtain and tube is optimal.
– Fix your roller box with the 2 screws previously removed.
Interested?