Sign in with Facebook
  Sign in with Google
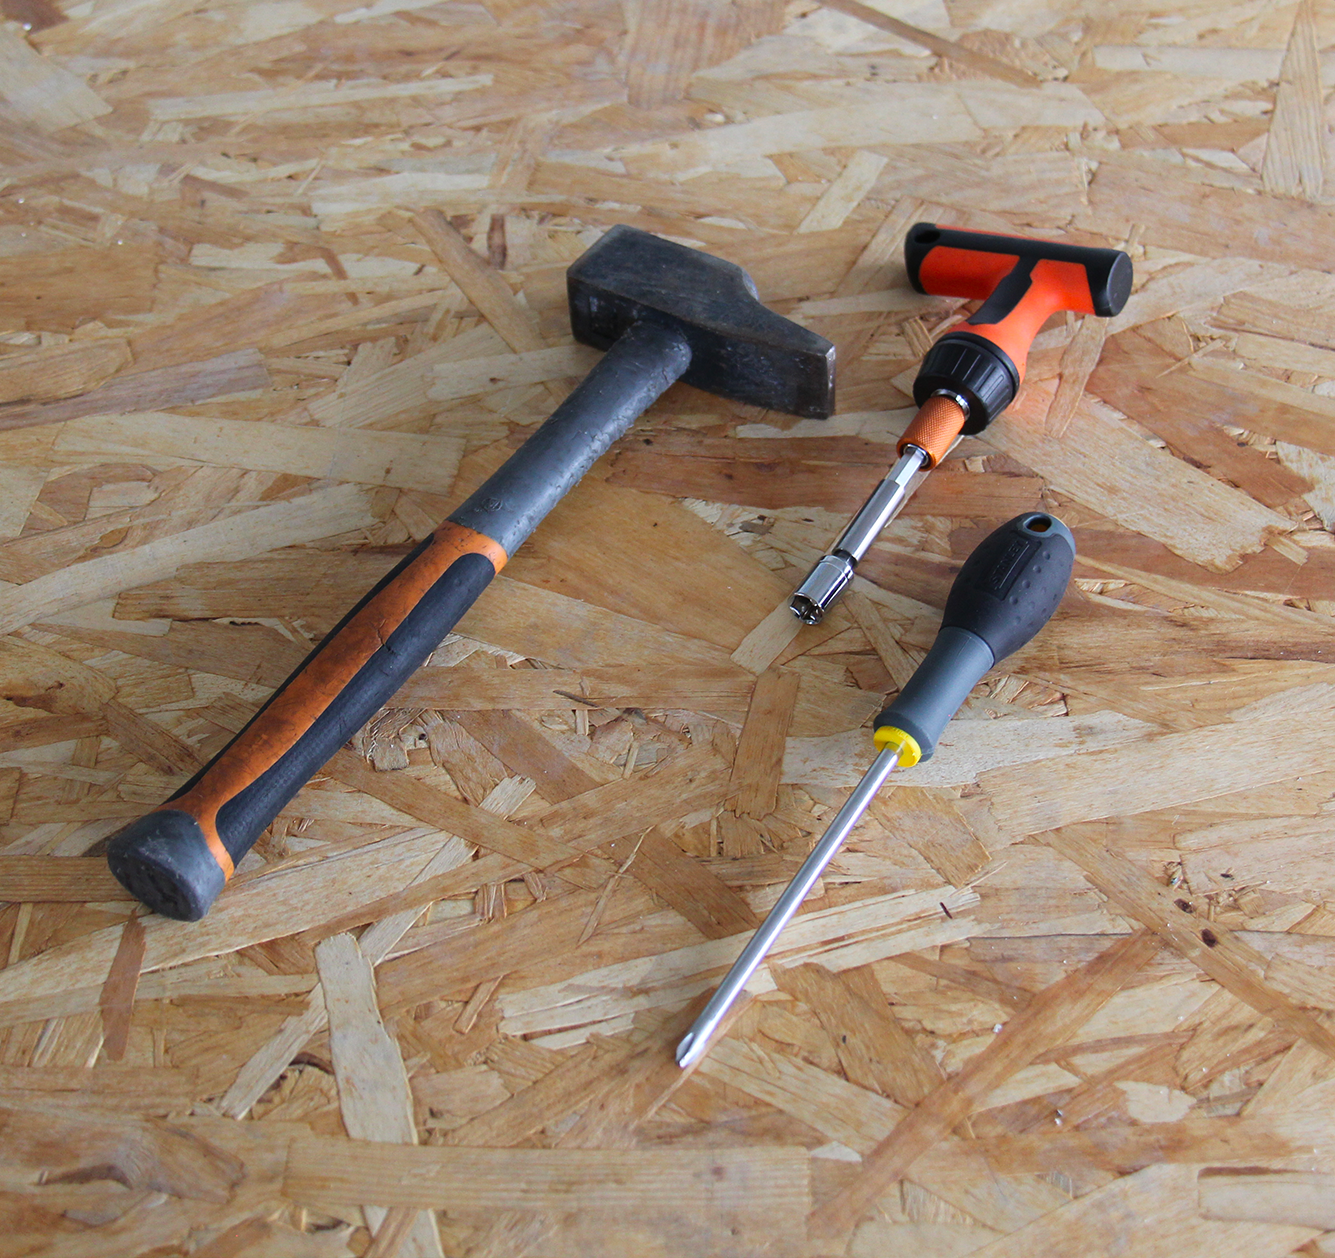
Necessary tools:
- 1 Philips screwdriver
- 1 combination wrench
- 1 hammer
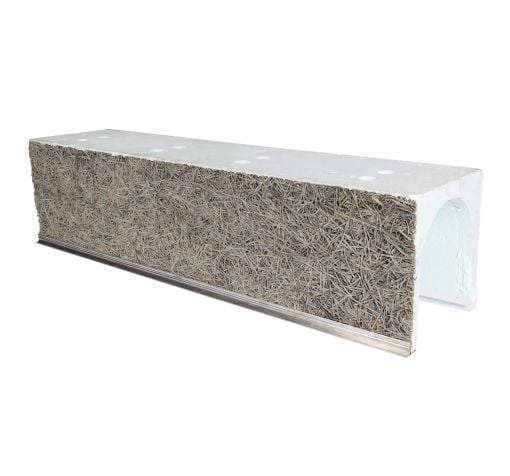
Before installing a Tunnel type Domestic Roller Shutter, it's necessary to follow the below guide to ensure a smooth installation. To facilitate this process, we offer 6 simplified steps. This assembly is carried out outside the box in order to have a better view of the components.
Necessary tools:
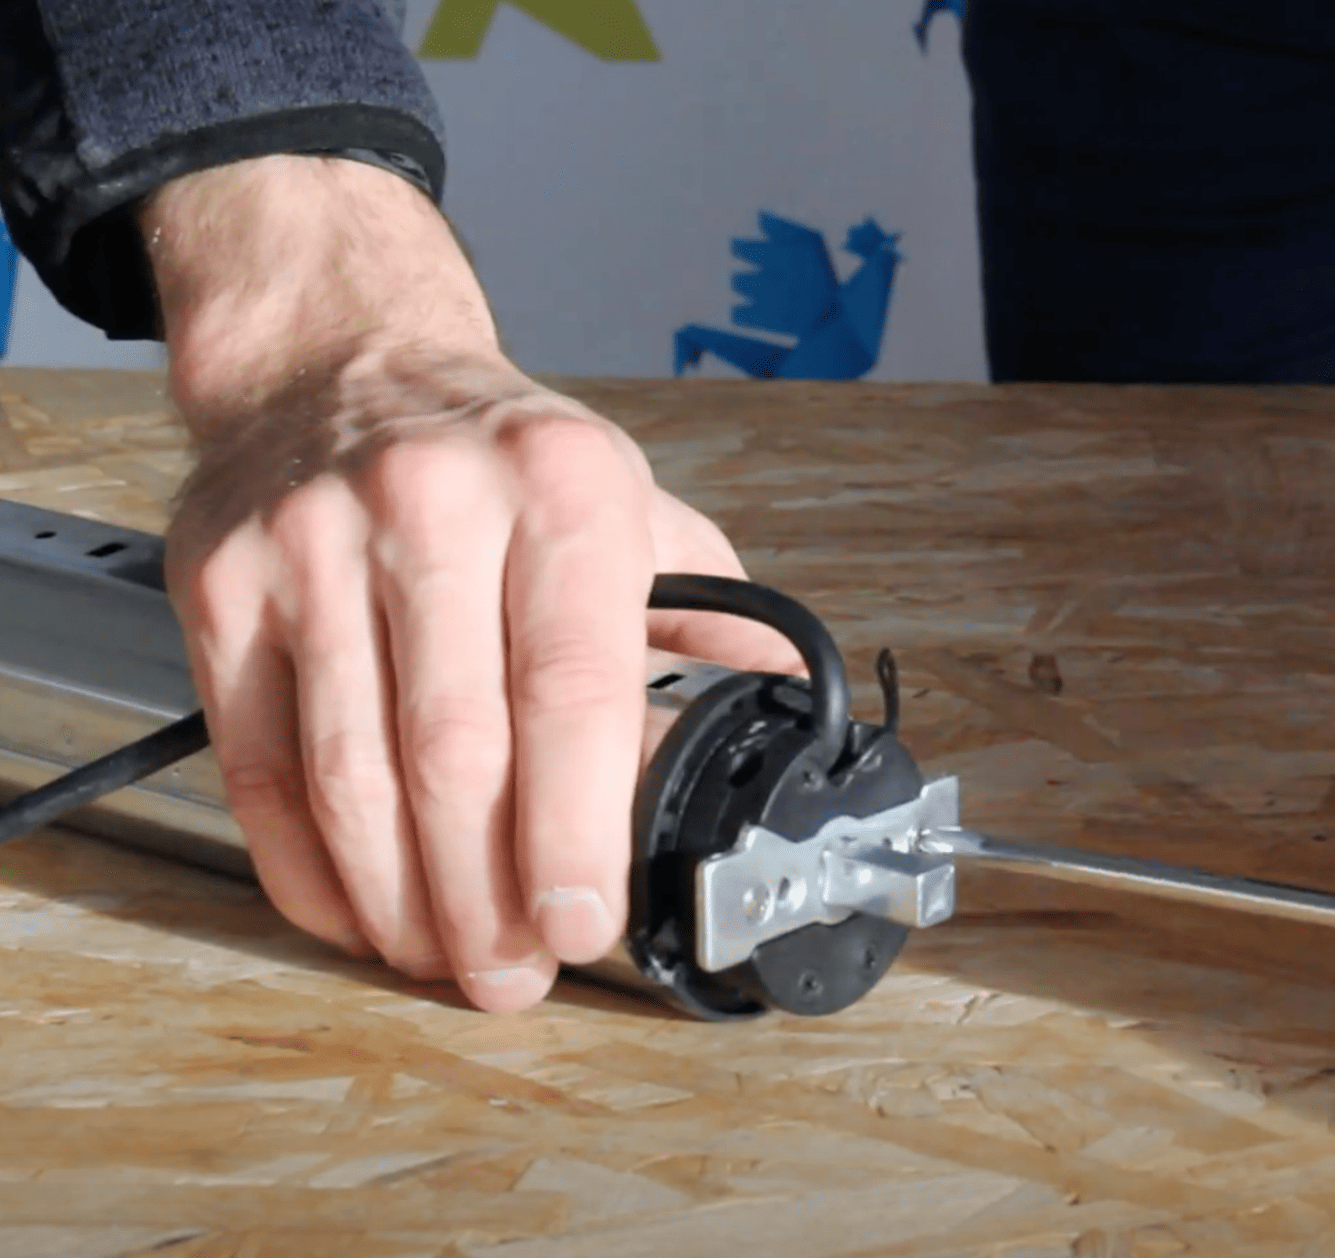
– Unscrew the 2 x screws on the motor head.
– Remove the square pin (if you ordered on our website,, the Tunnel type roller shutter comes pre-assembled for a quick and simple installation.

– Replace the metallic plate.
– Insert the motor adapter.
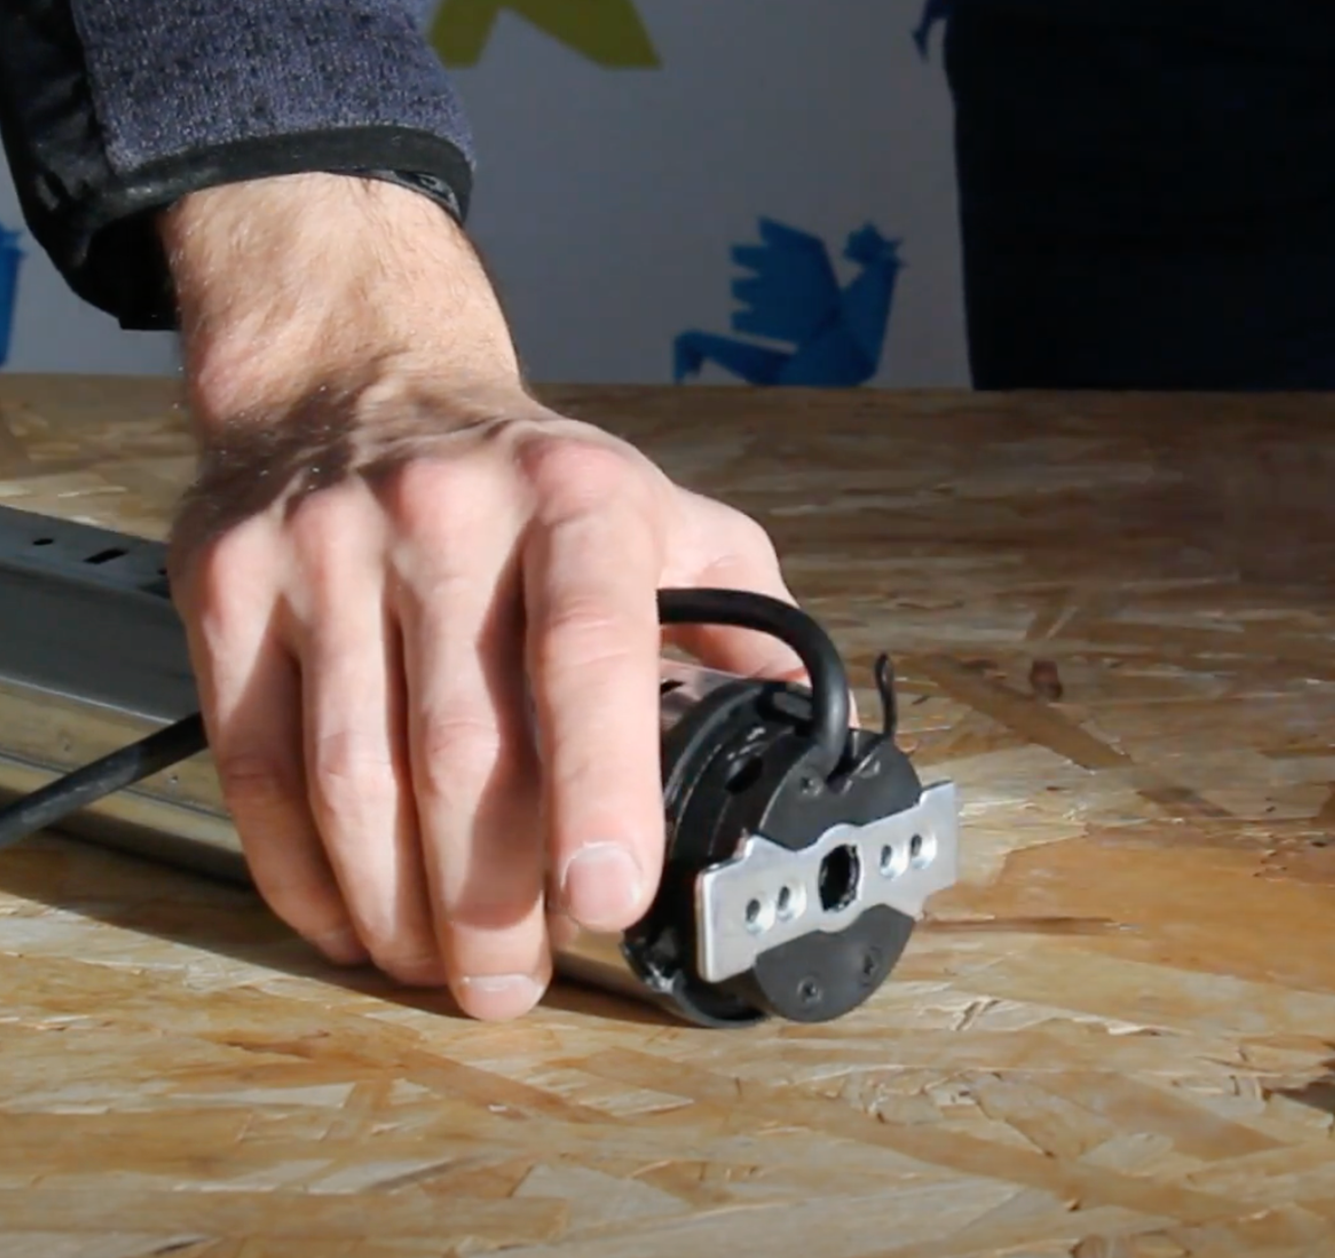
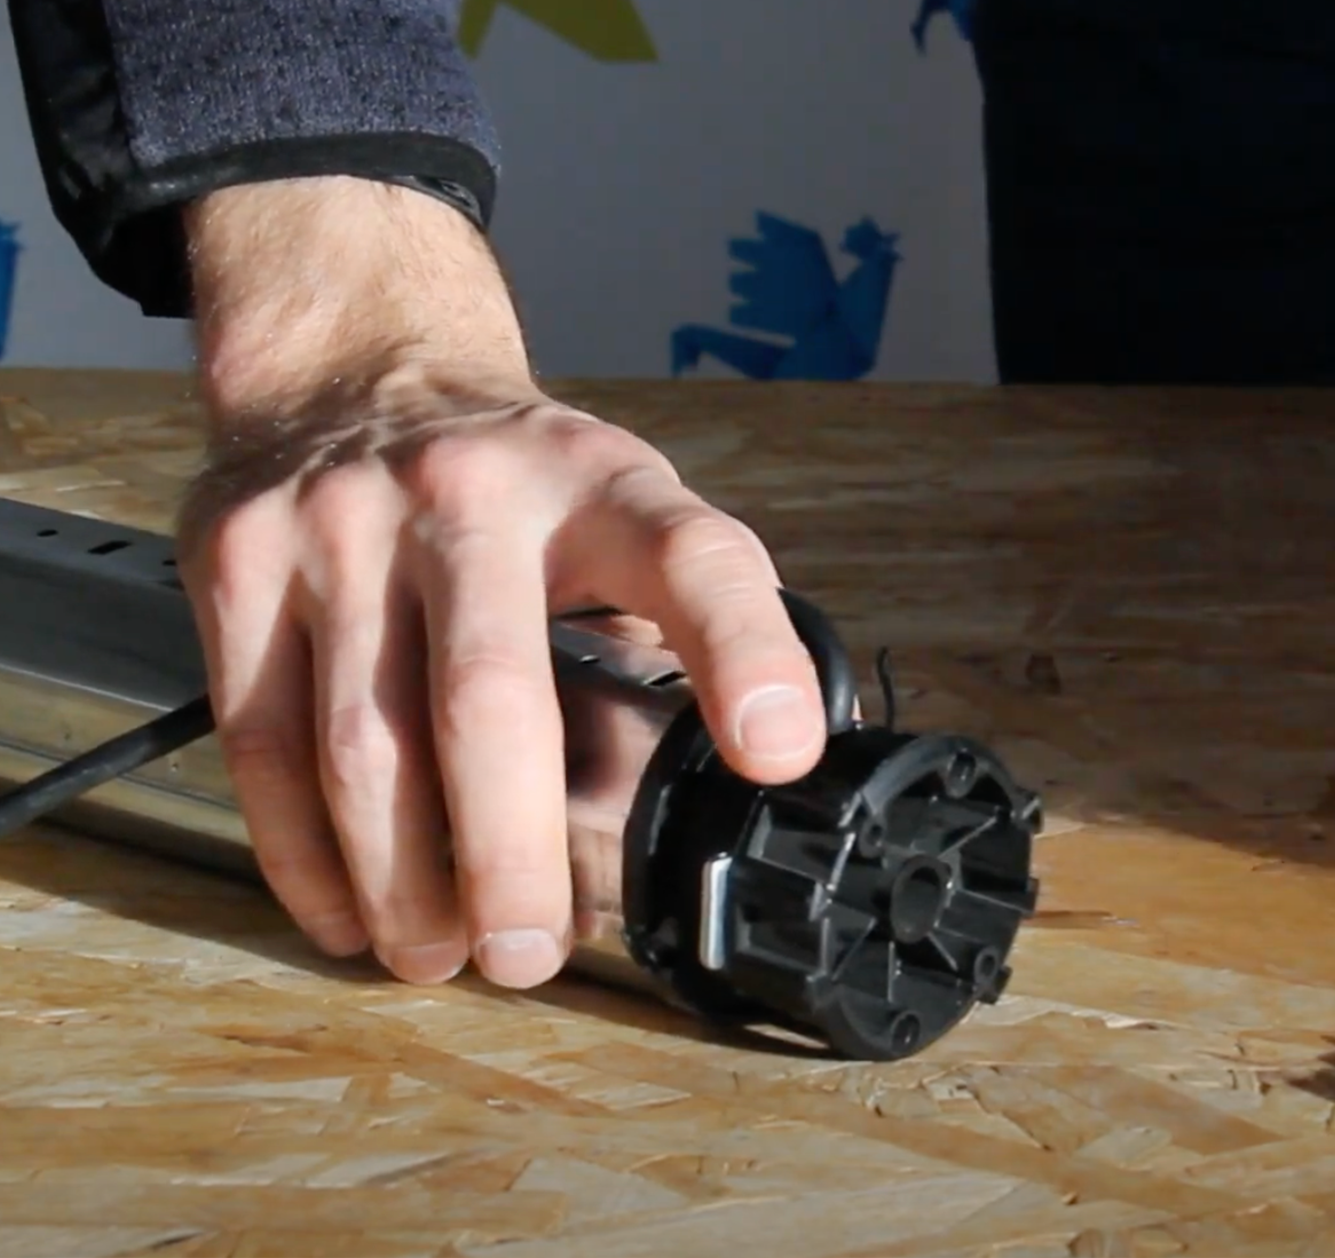
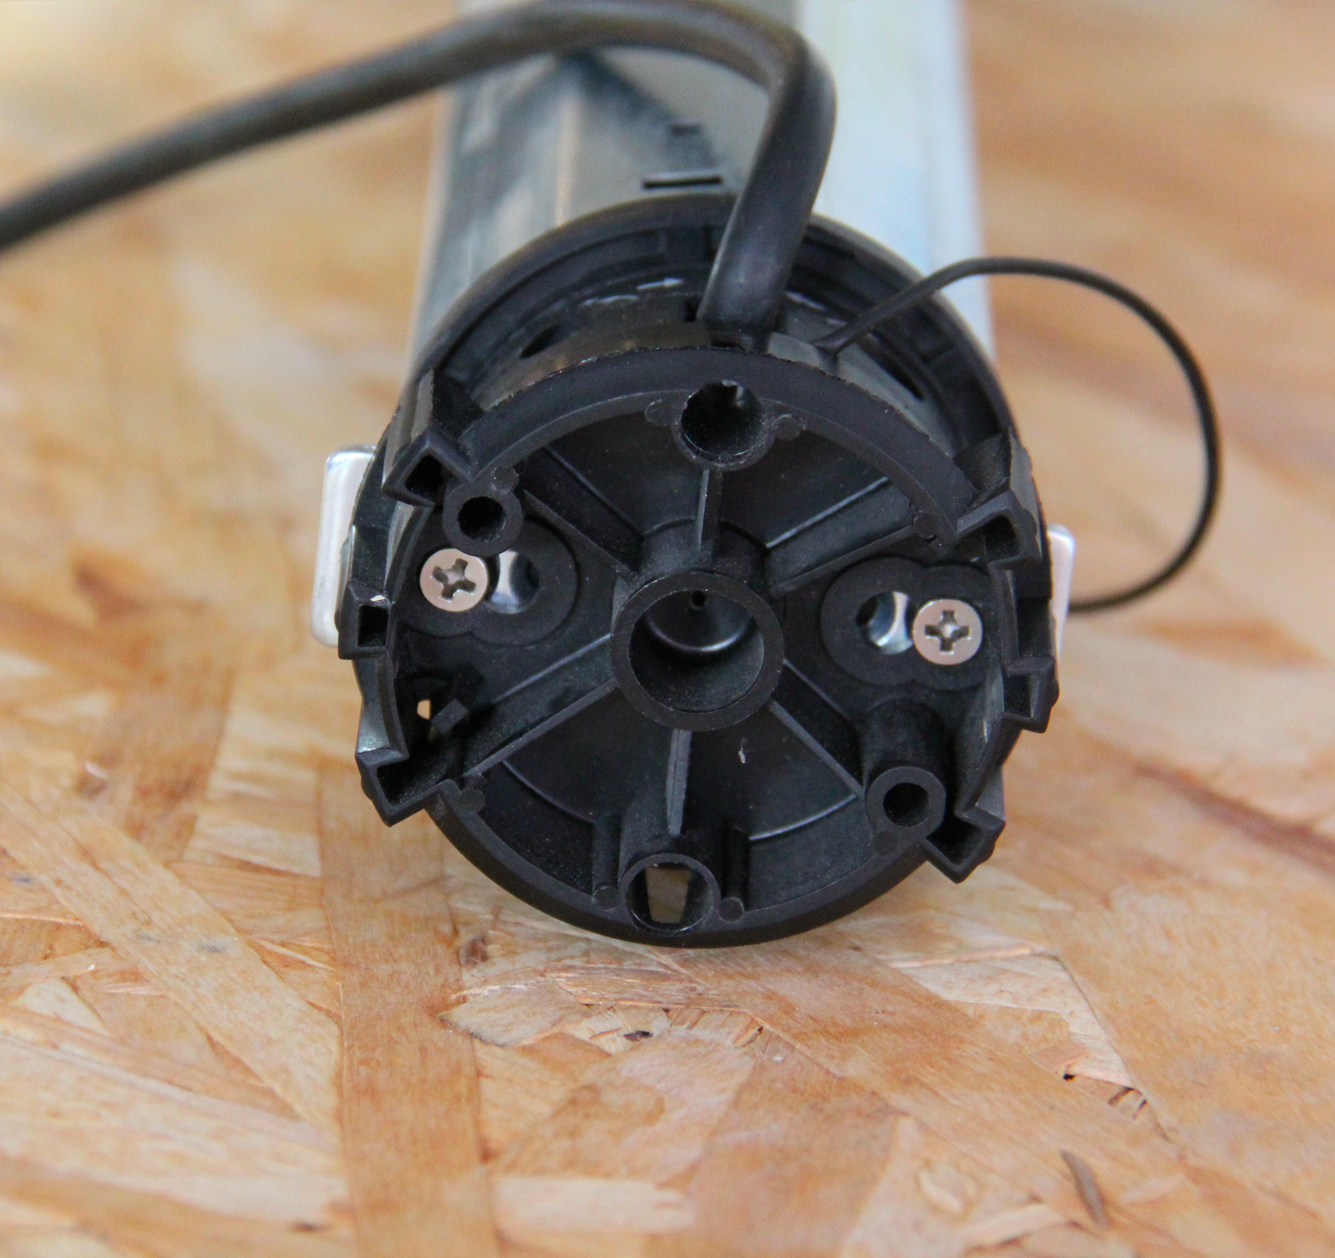
– Align the motor screw holes with the motor adapter.
– Screw the assembly together.
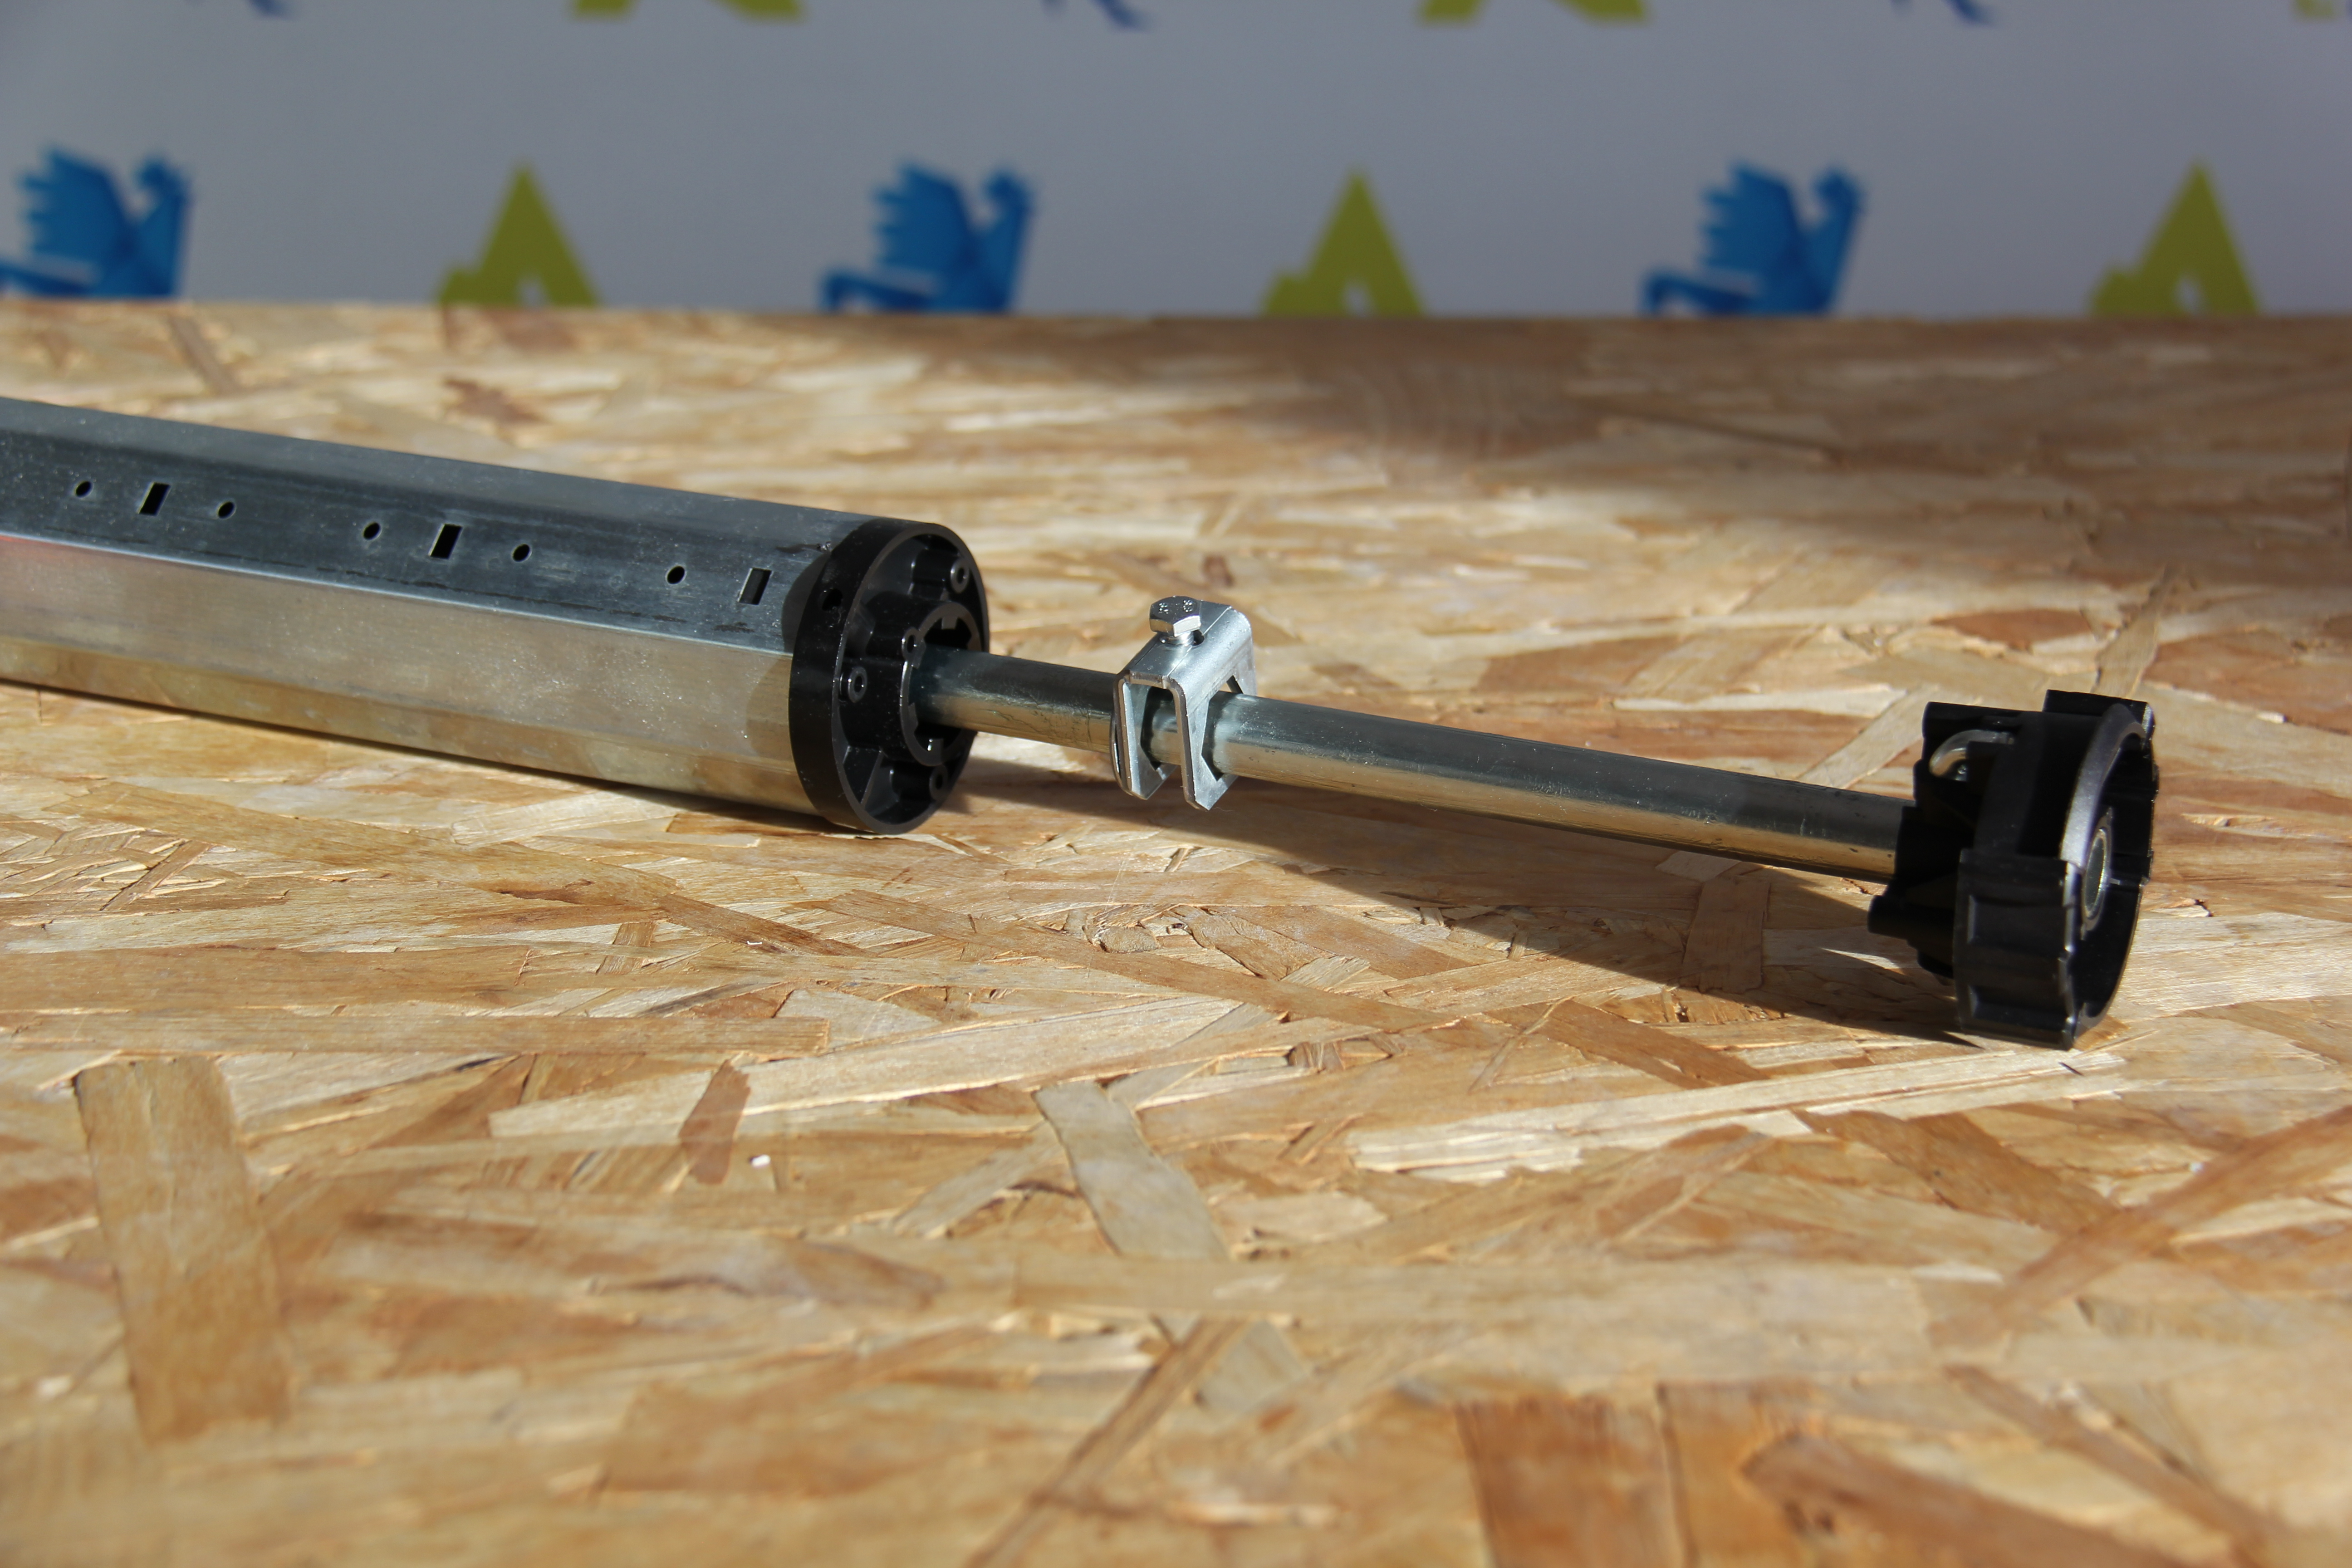
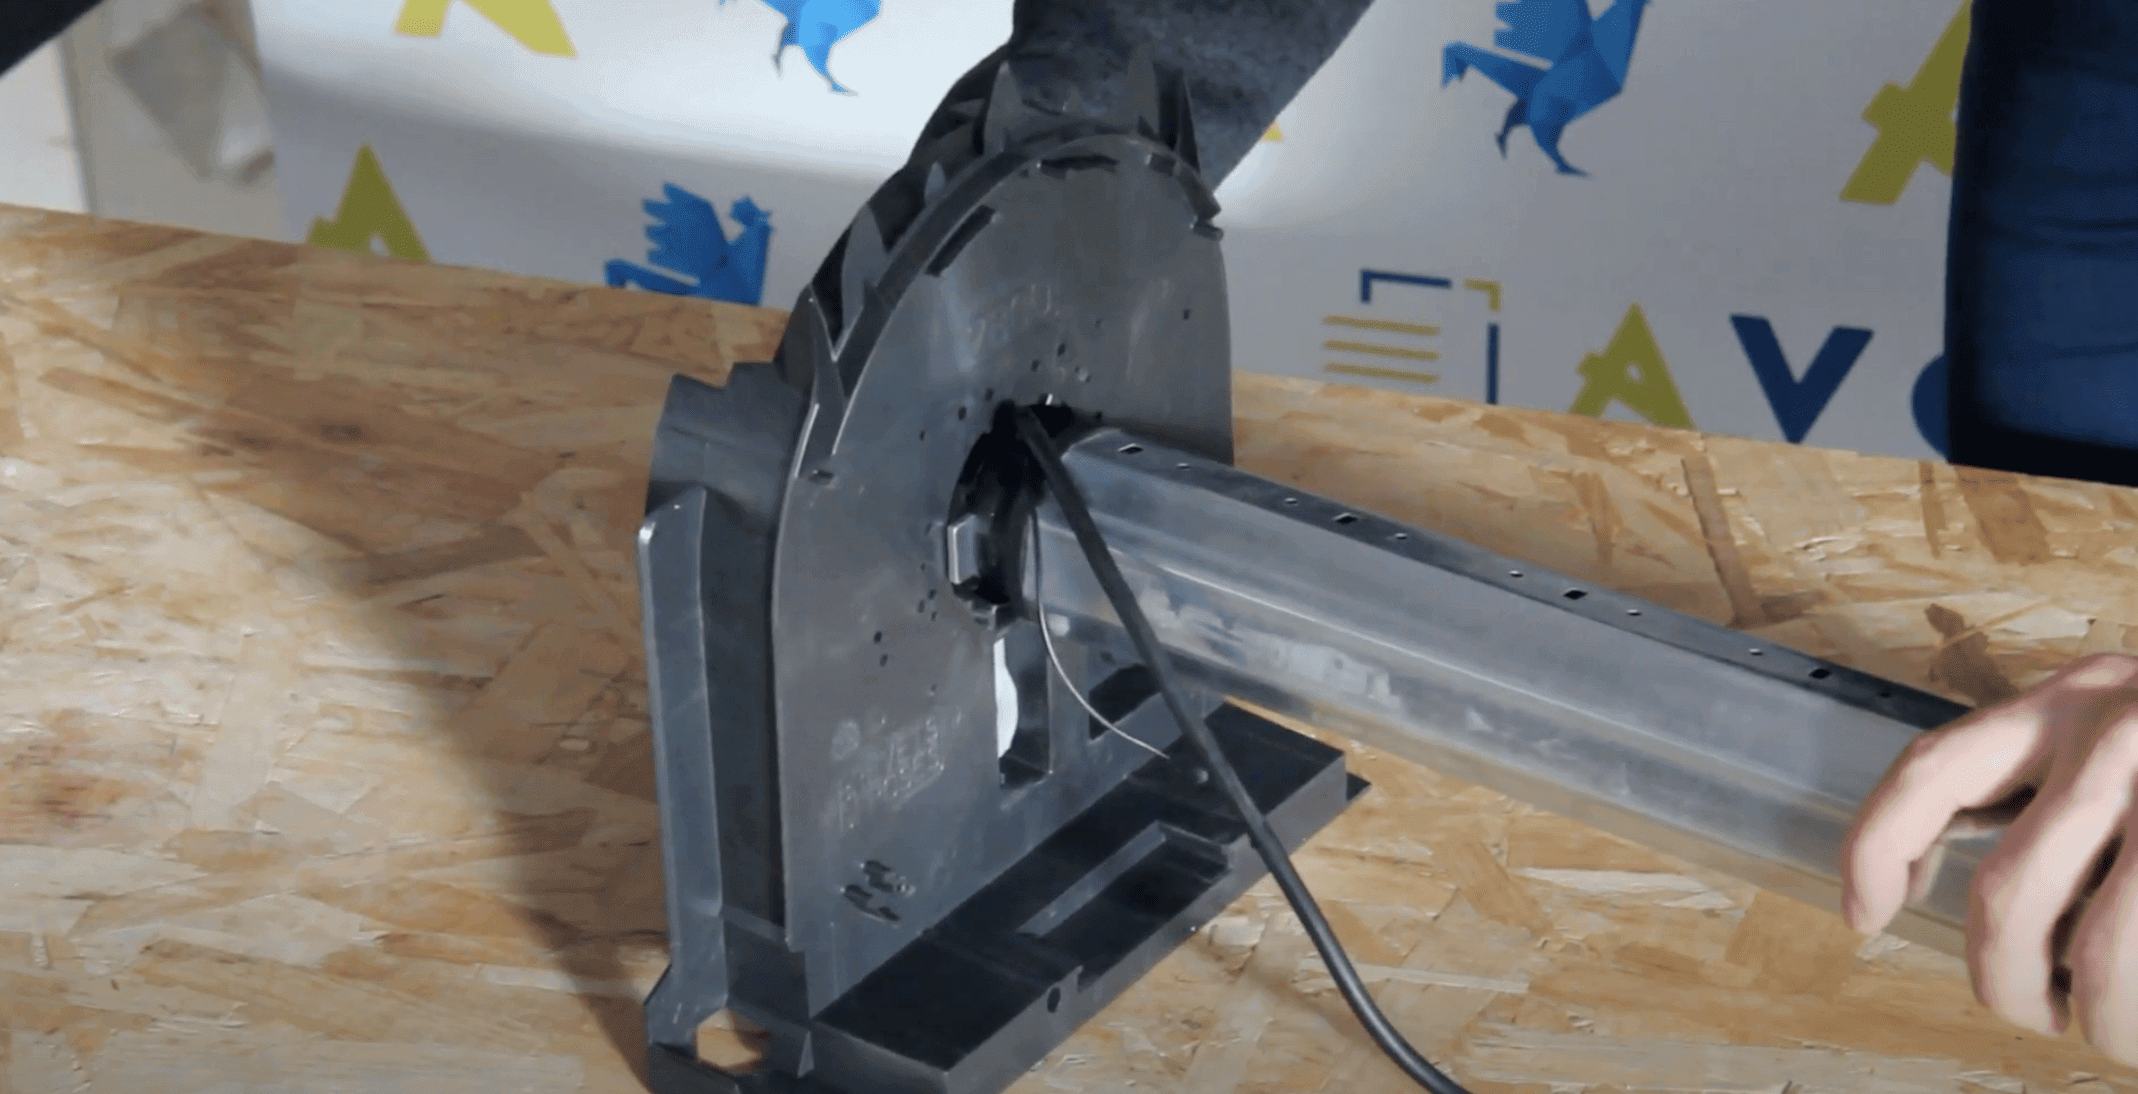
The operation is to be carried out on the opposite side to the motor. The tandem end is telescopic in order to adapt to the total width of the box.
– Retract the tandem nozzle to facilitate insertion into the trunk.
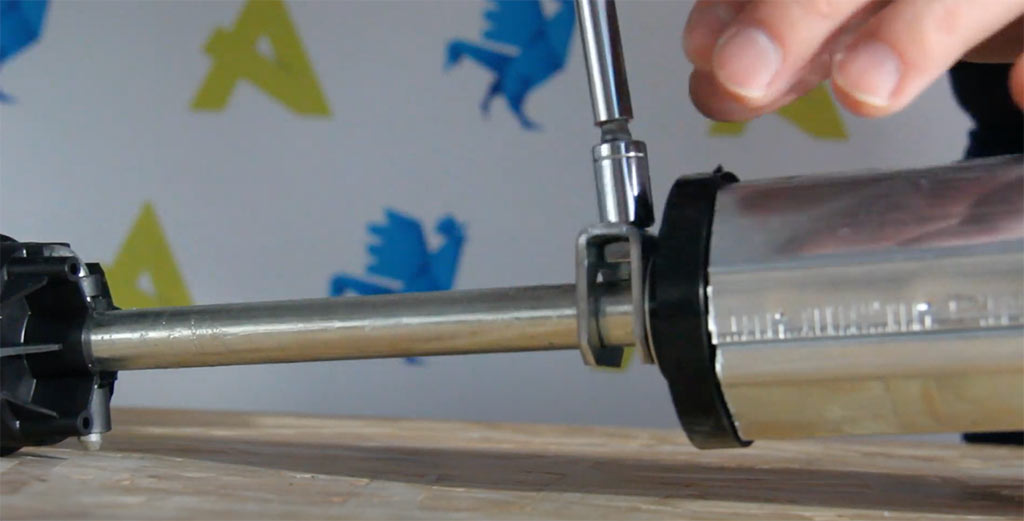
– Loosen the bolt to move the flange. This will need to be tightened once in place.
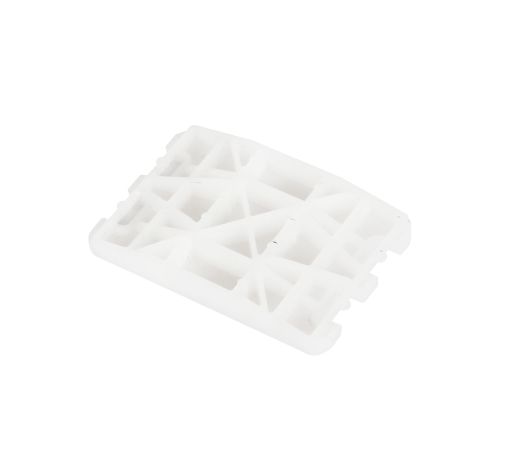
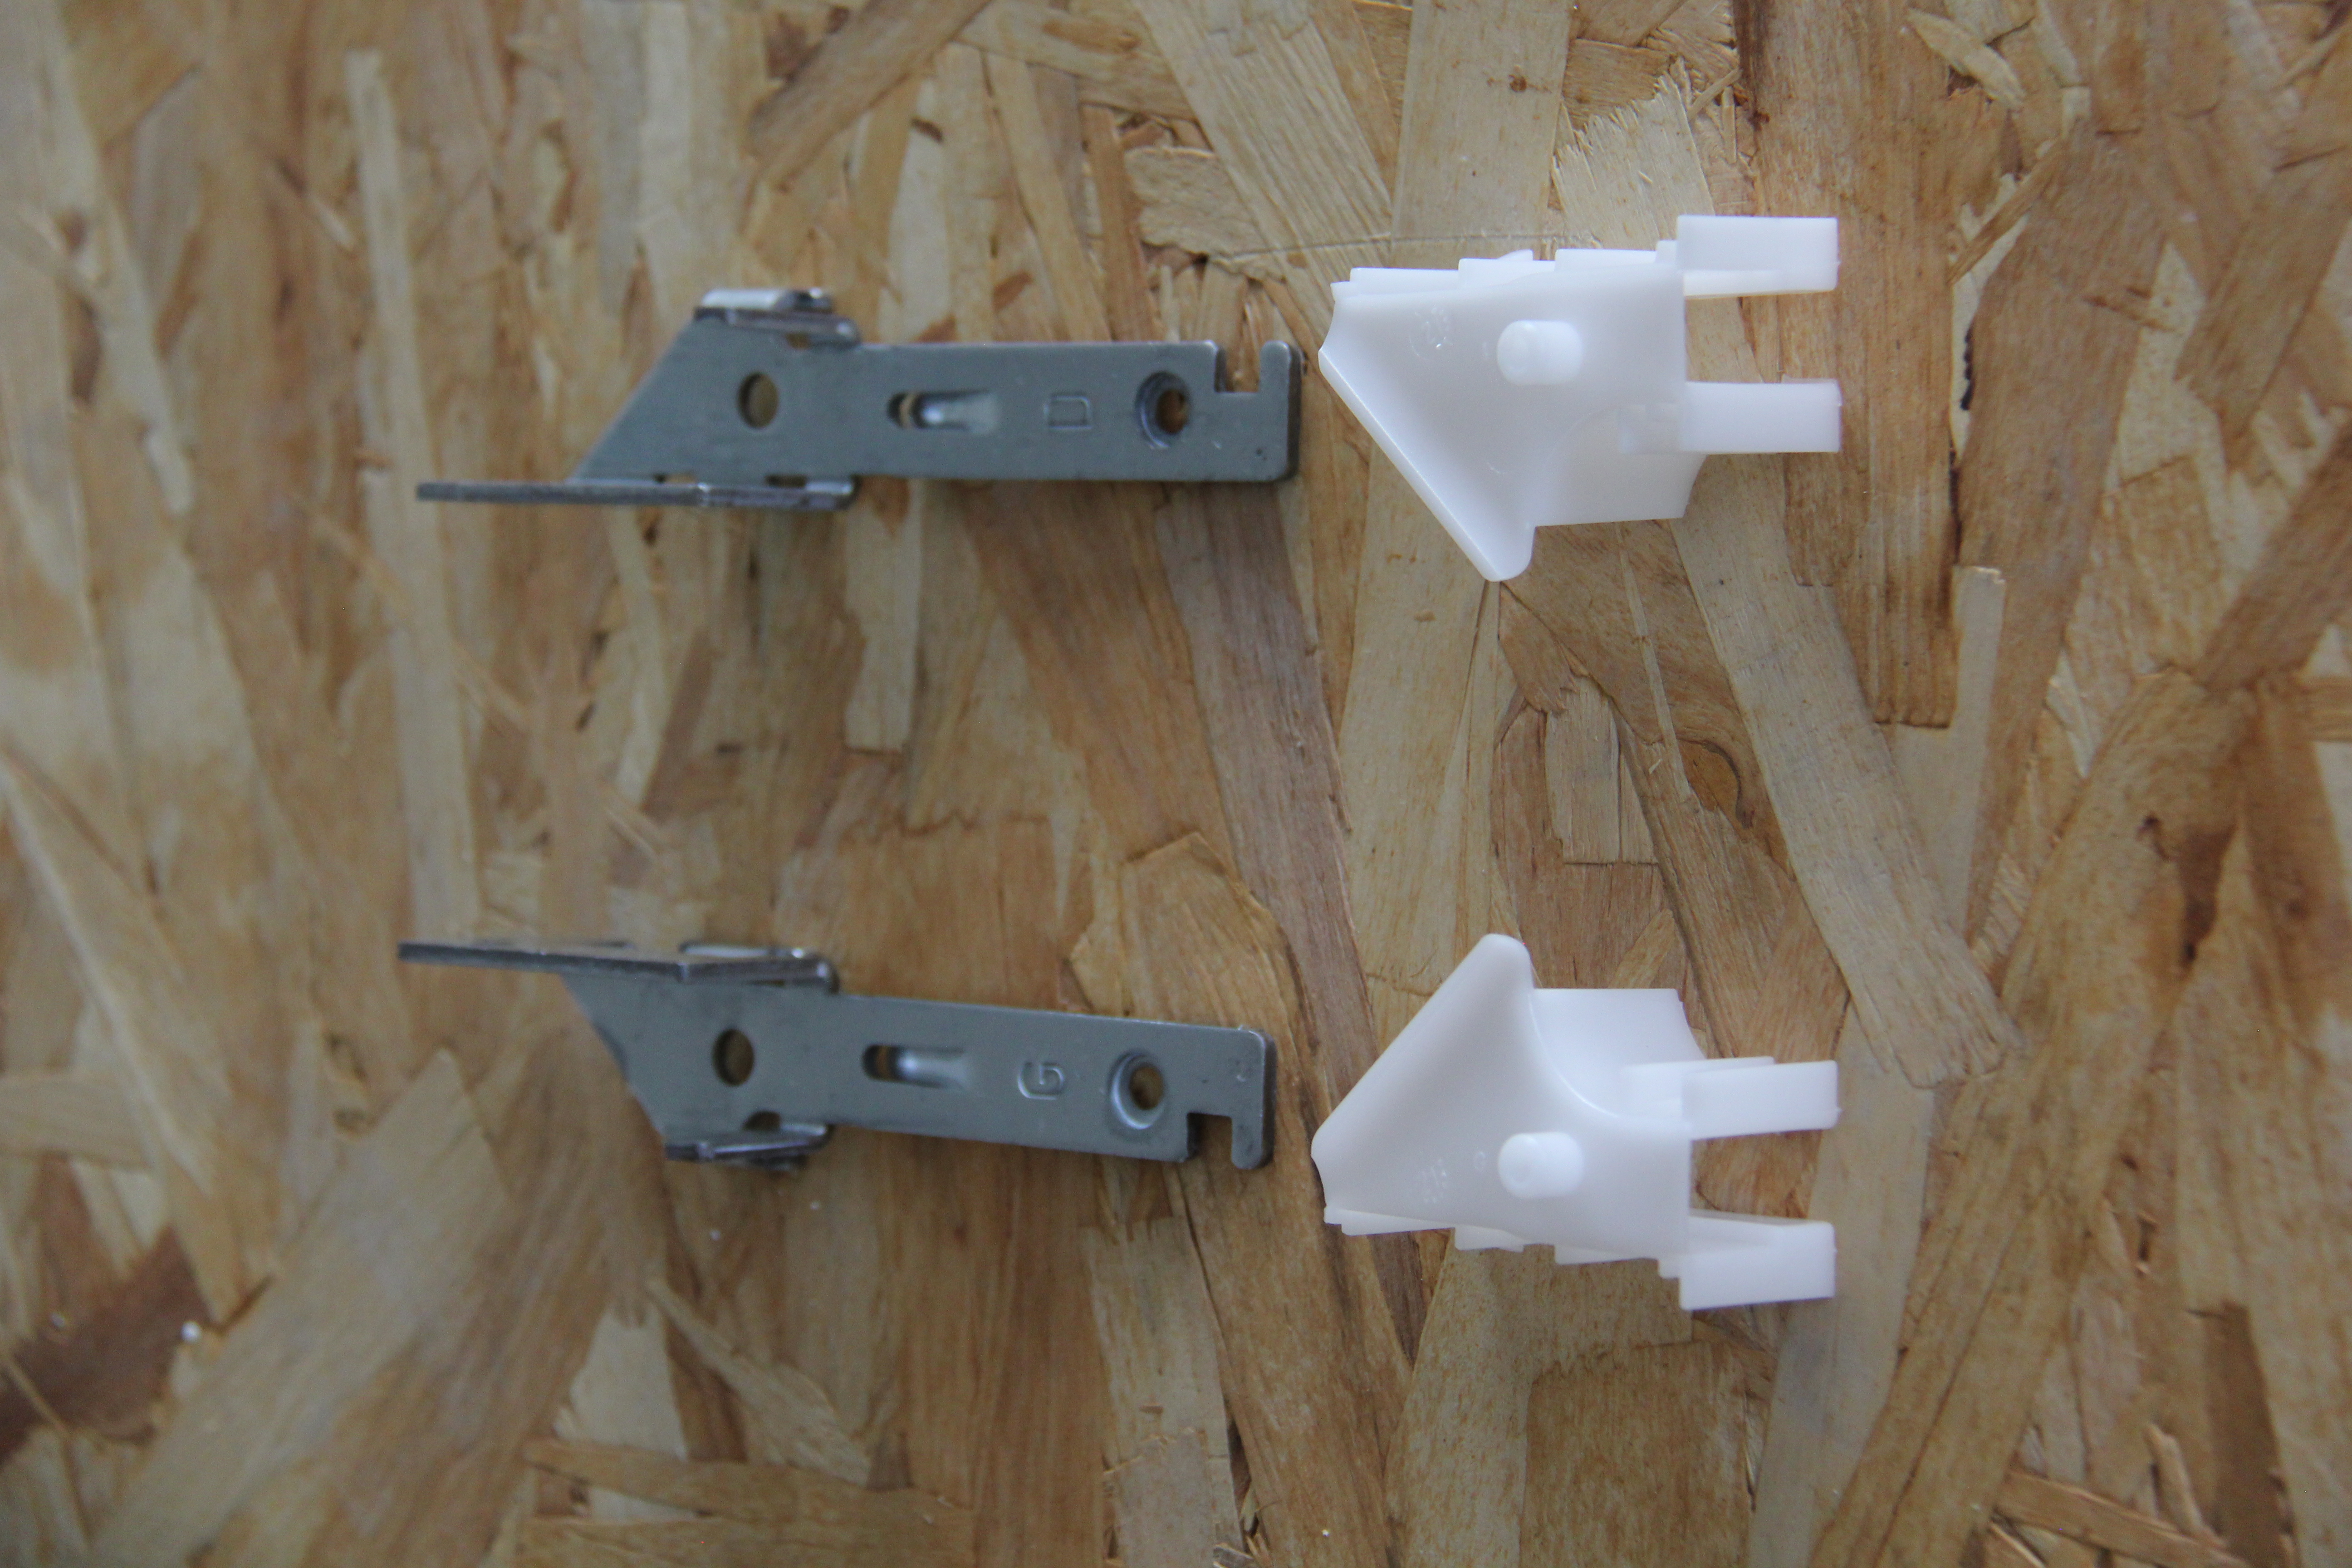
First of all, equip yourself with the support legs as well as the cheeks.
– Insert the tab into the location of the cheek. The flat part must be located towards the ground (see photo).
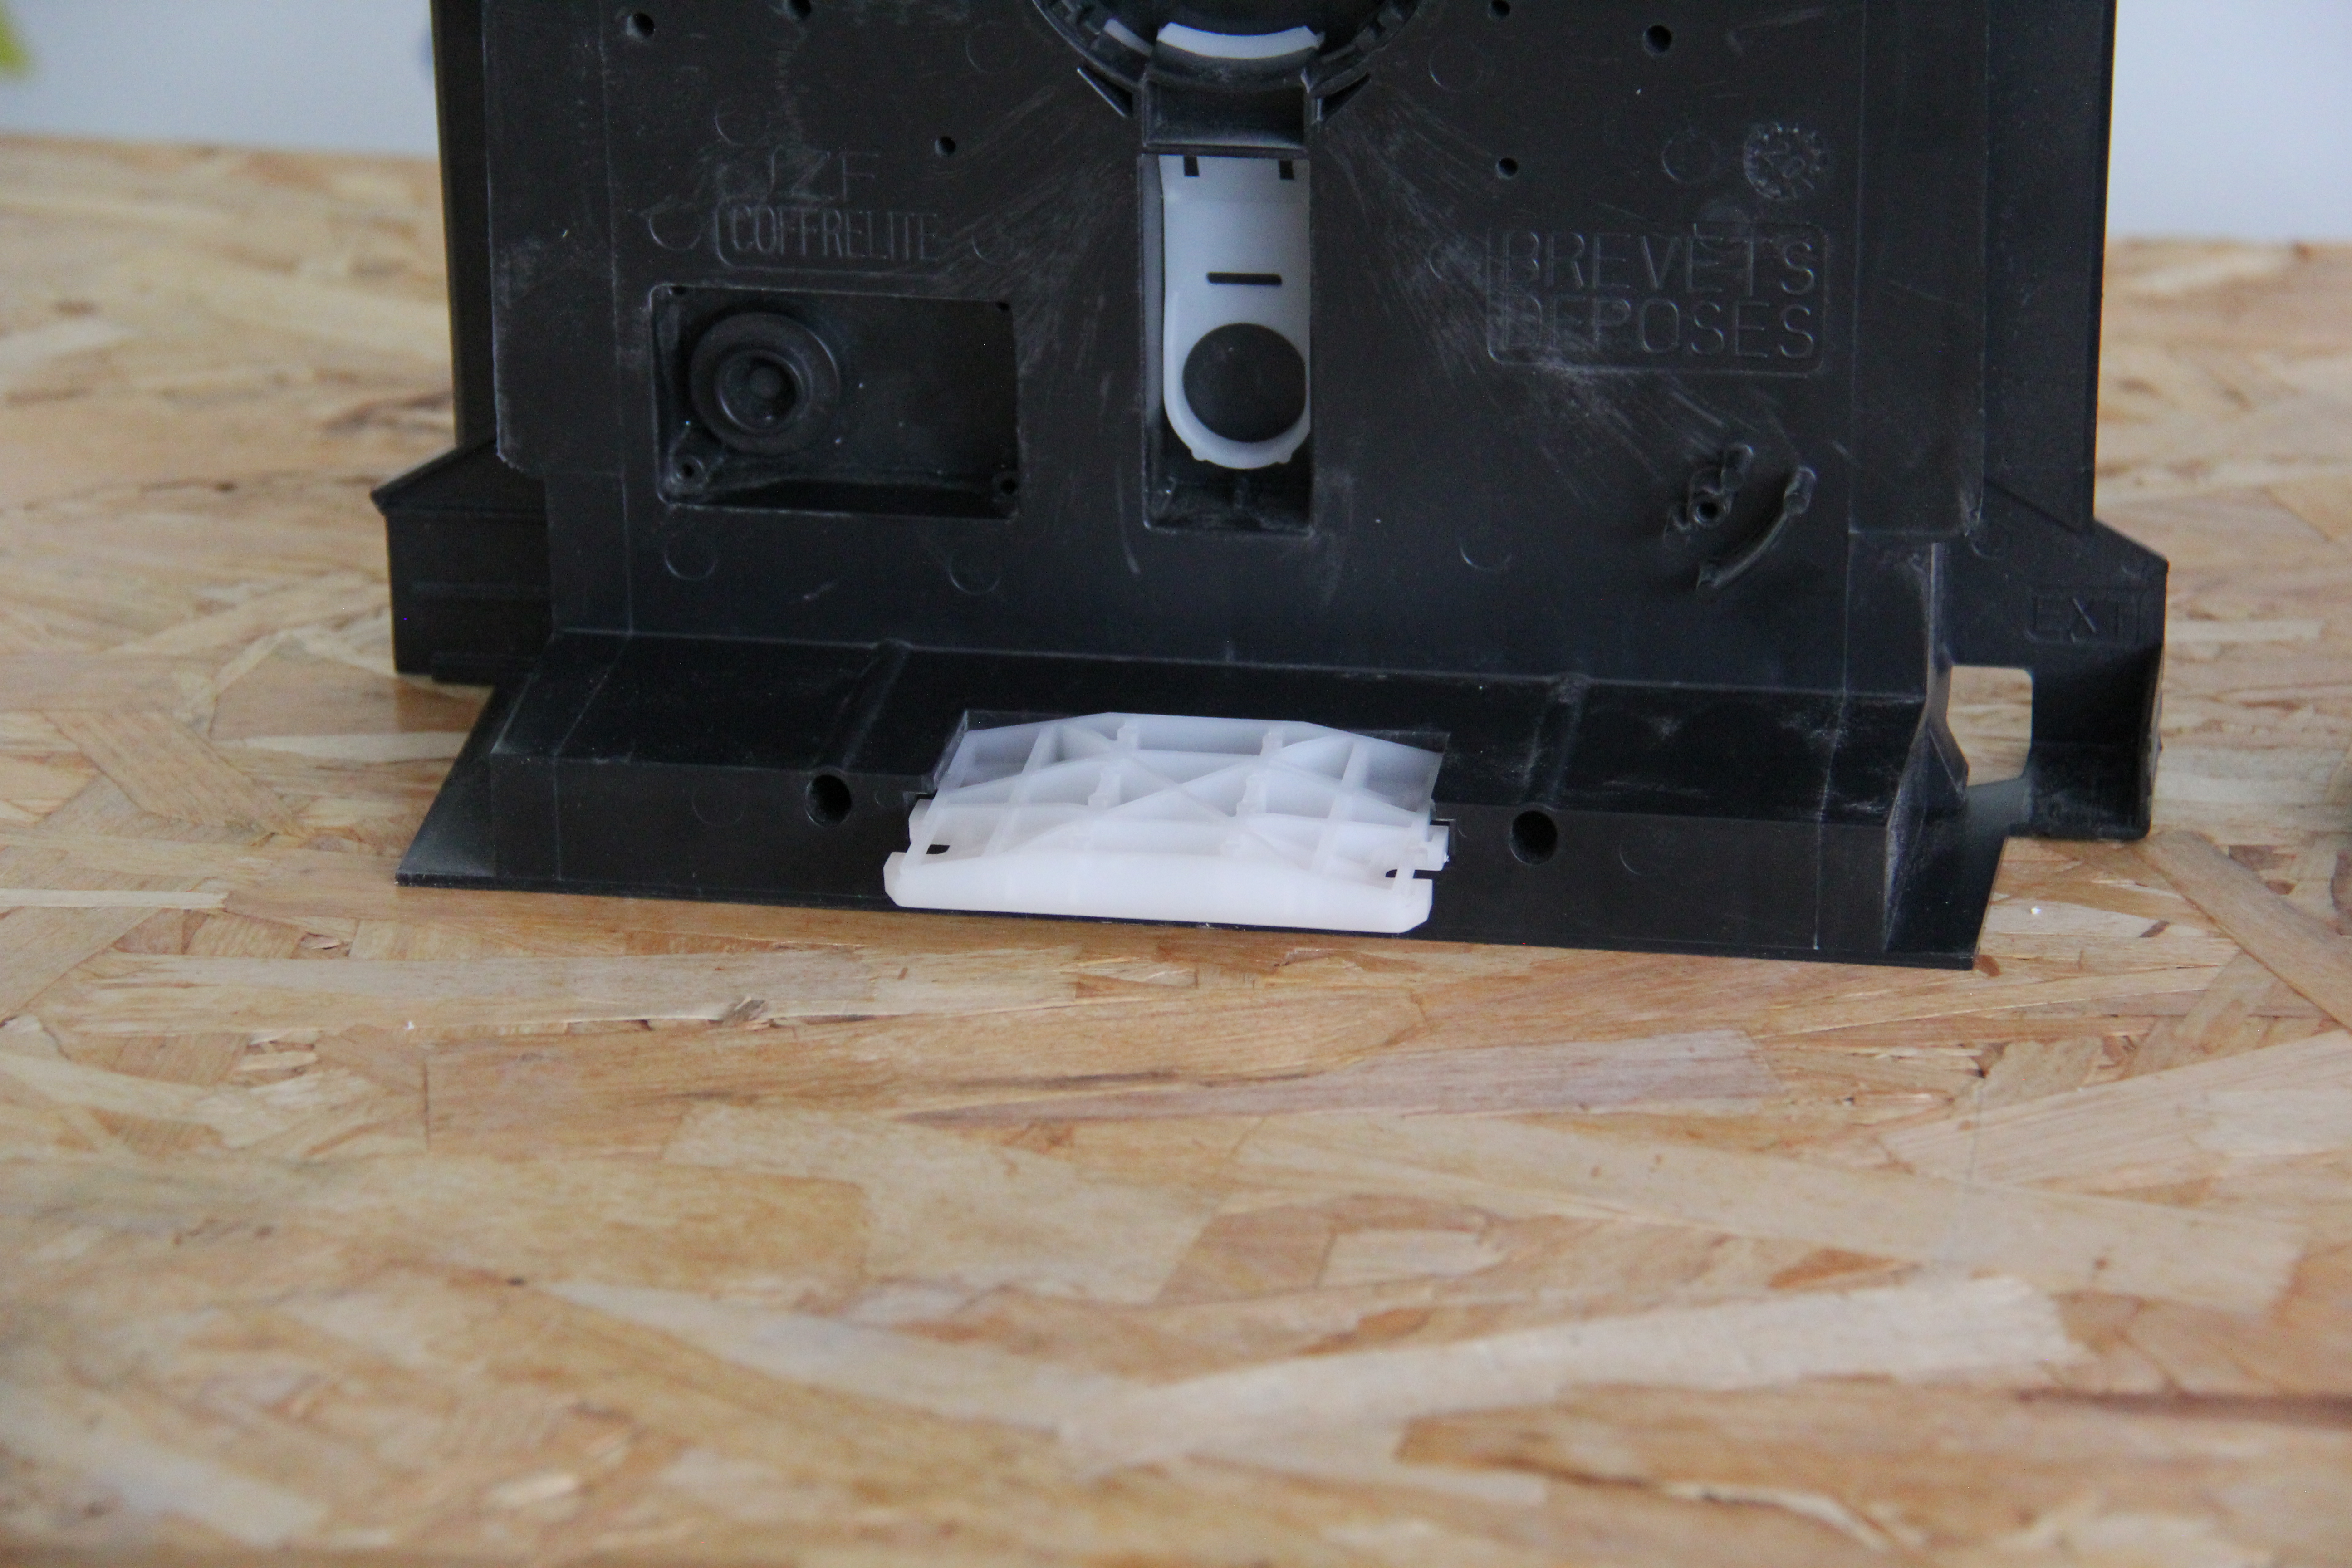
– Fully press the paw into the cheek.
– Repeat the operation on the other cheek. It is on this tab that the underside will be screwed.
Don't be concerned if the cheek piece appears wider than necessary, the trunk closes slightly on itself when there is no cheek piece. Do not hesitate to help the insertion of the cheek by spreading it.
– Fully insert the side panel into the trunk. Do not hesitate to press for a total insertion.
– Repeat the process on the opposite end cap.
It is important to specify that at this stage, the box is normally placed in the masonry.
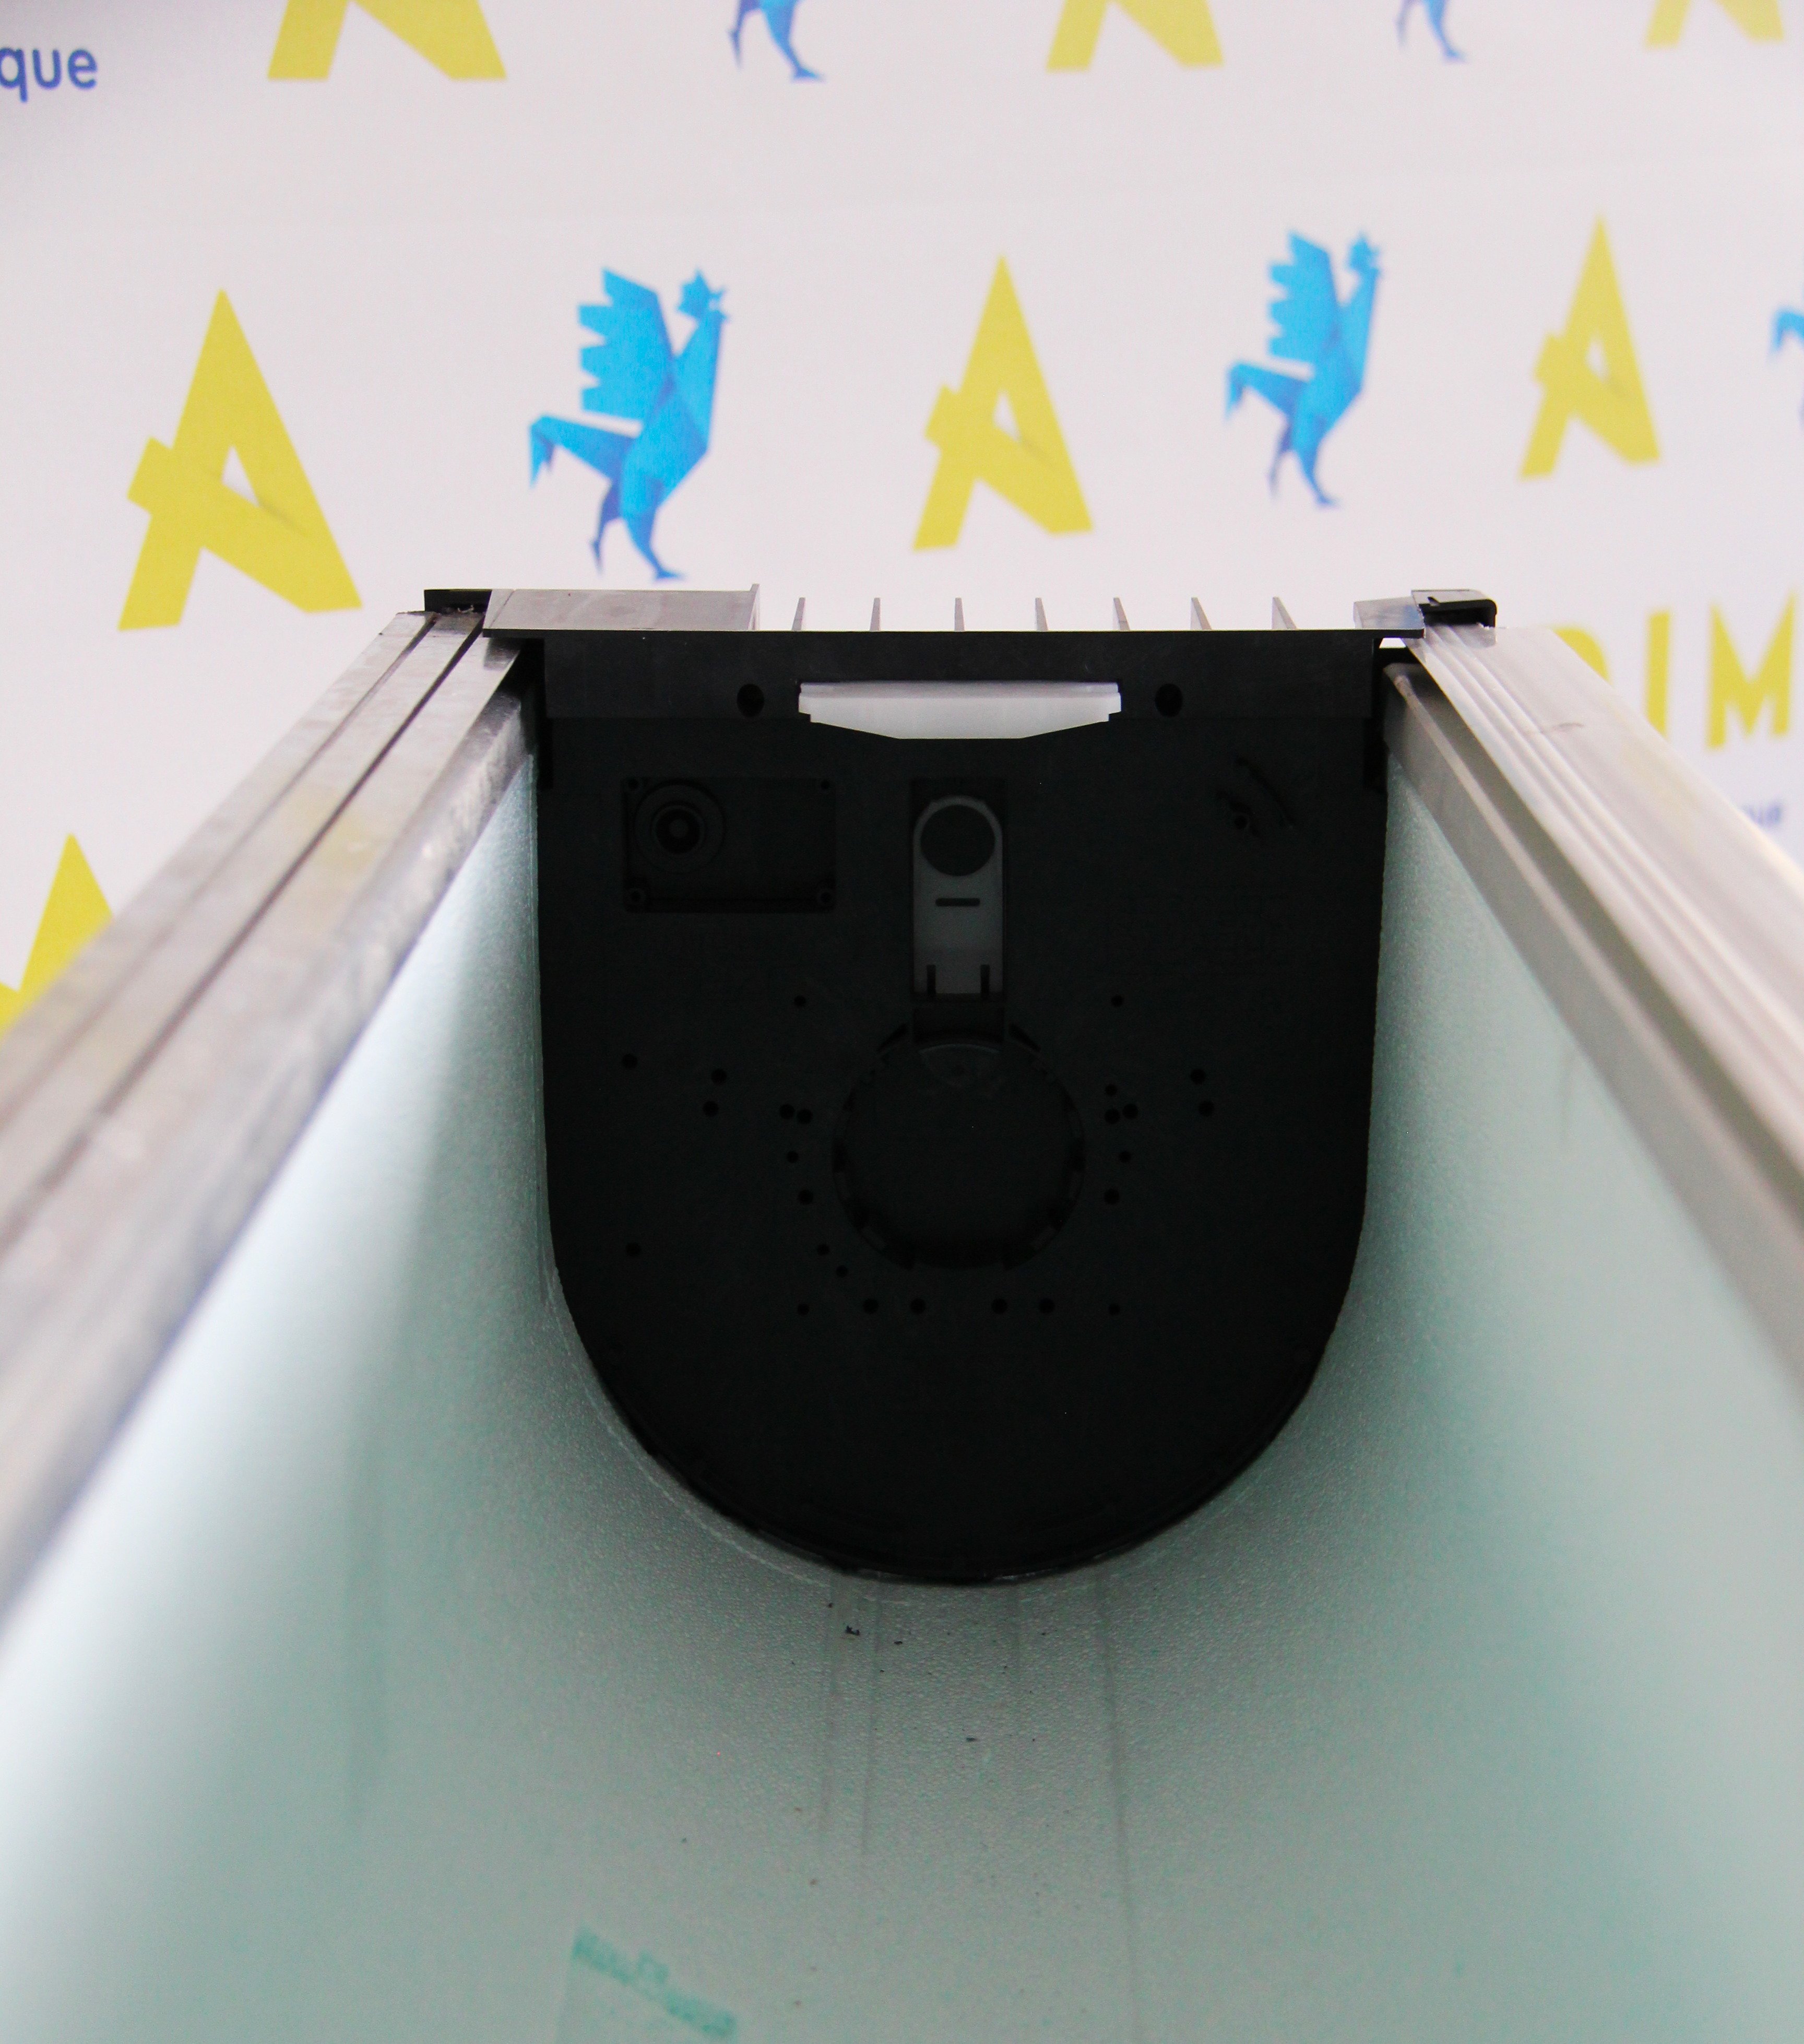
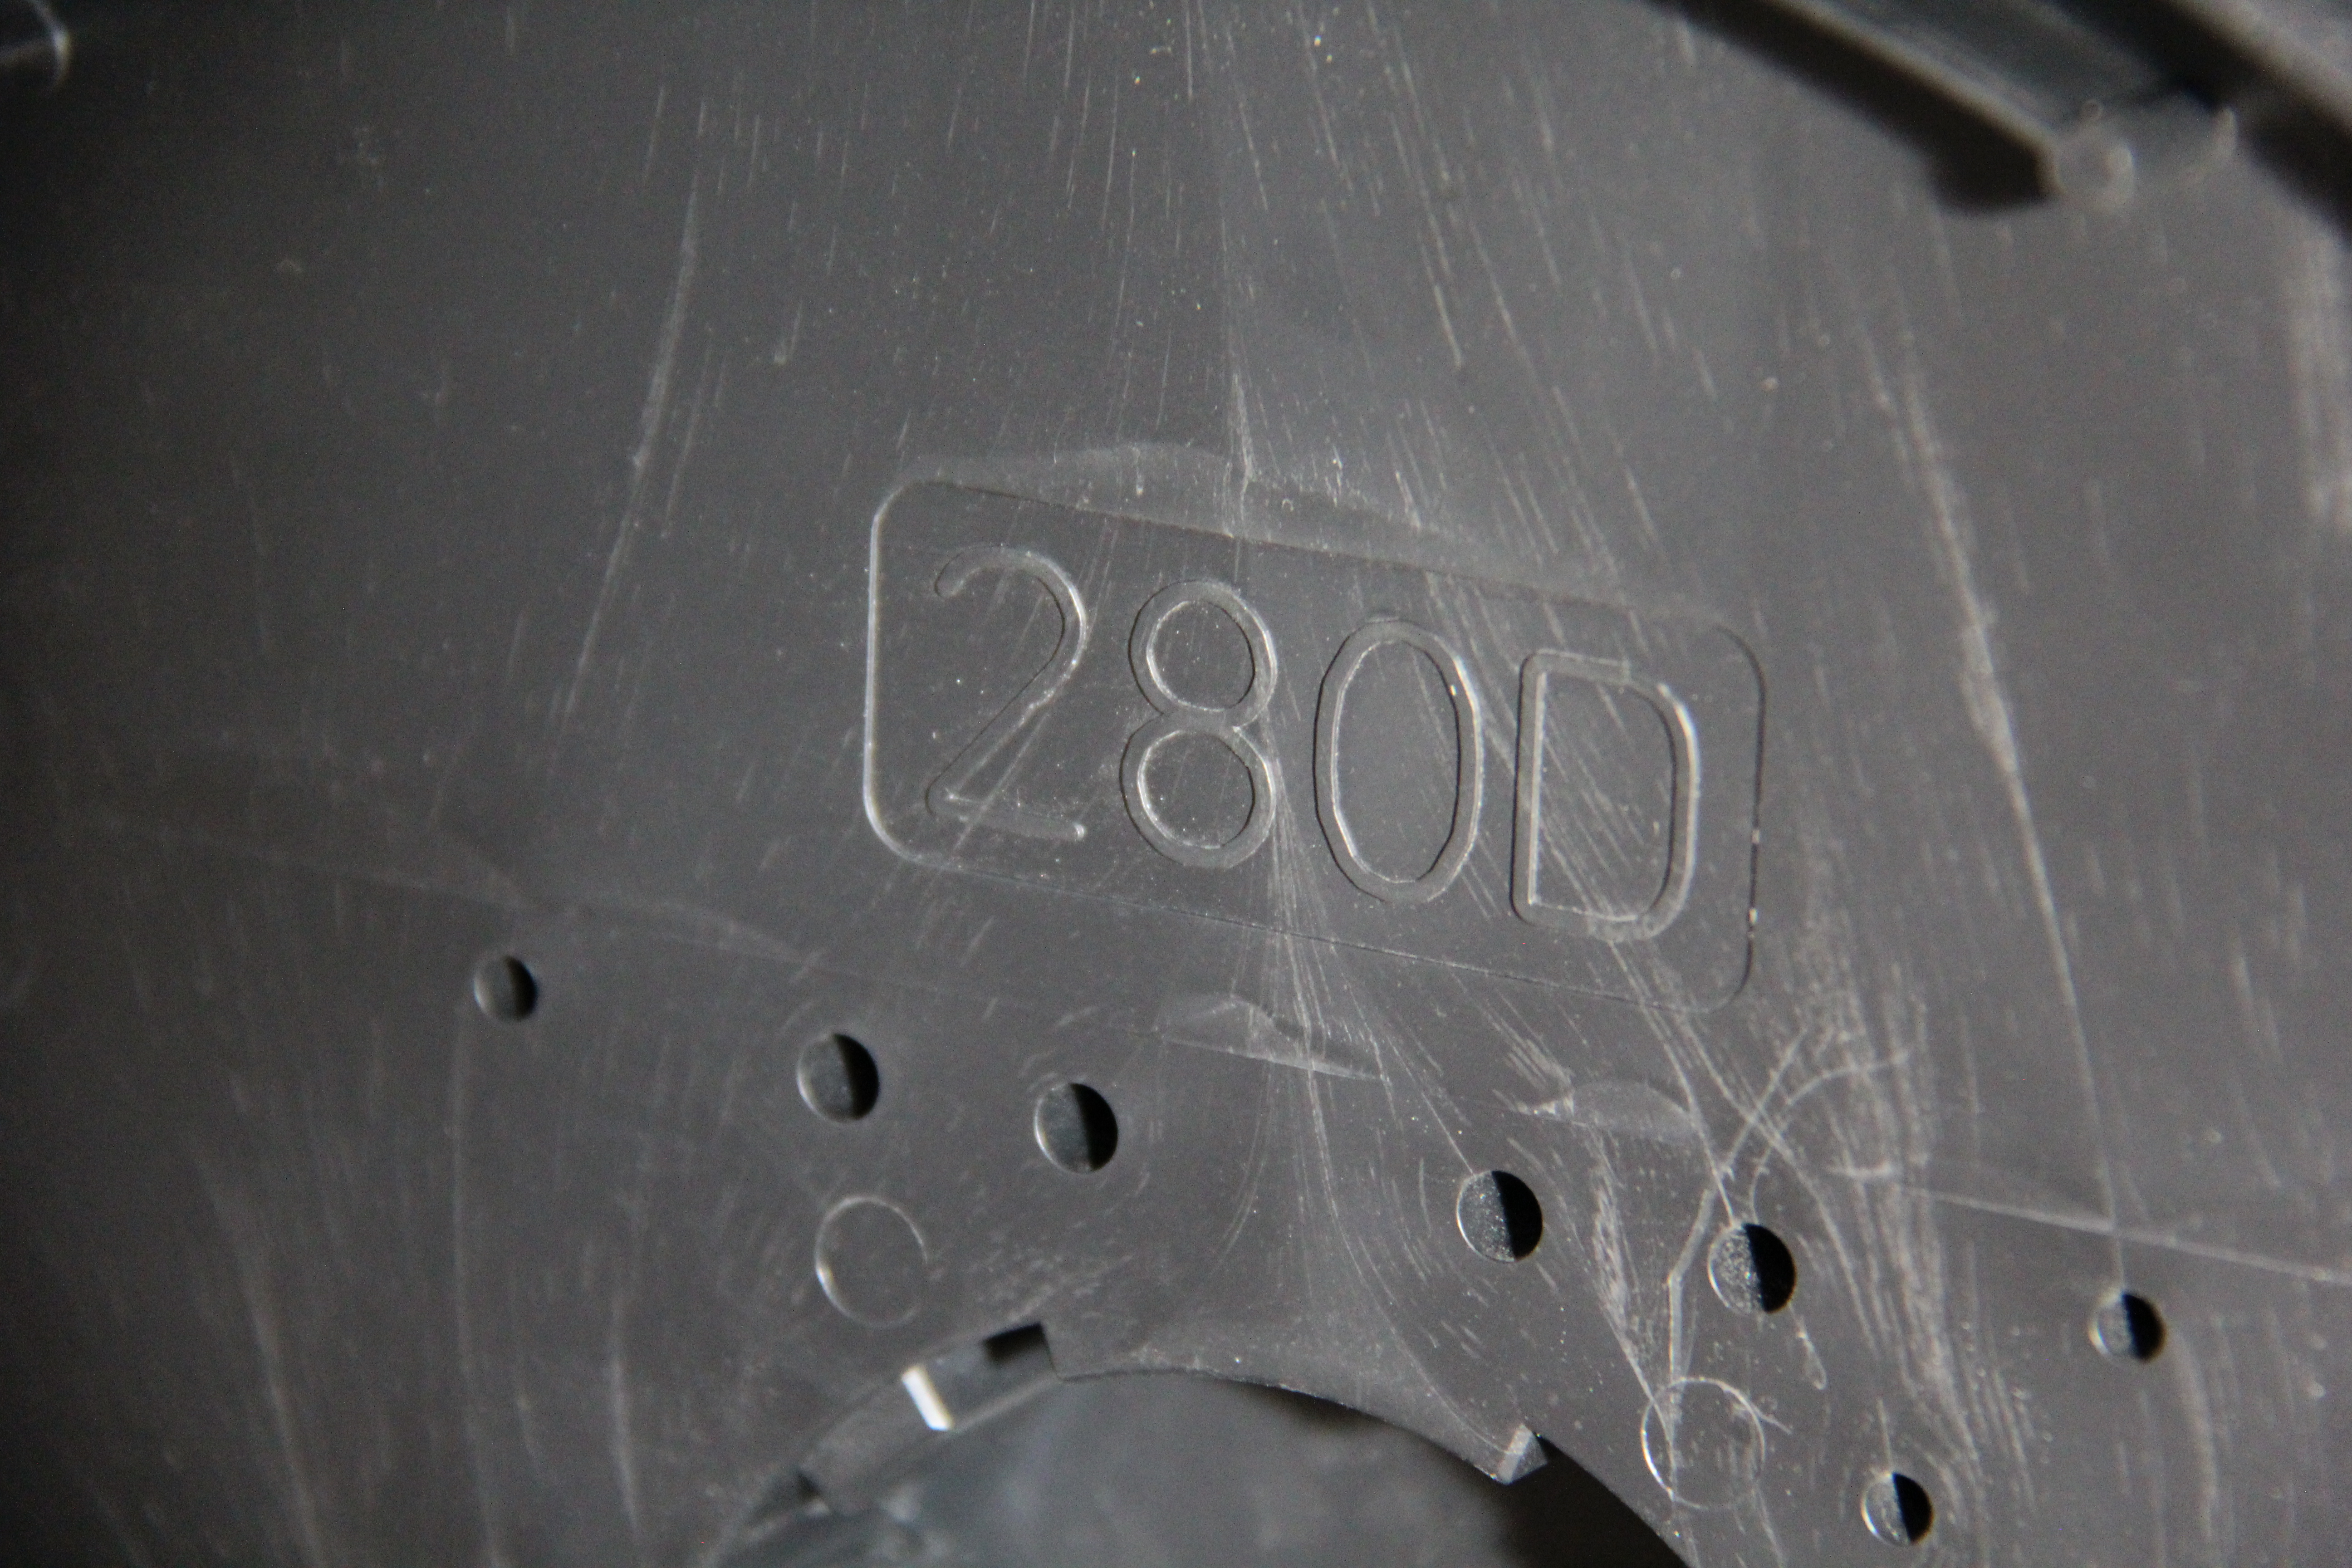
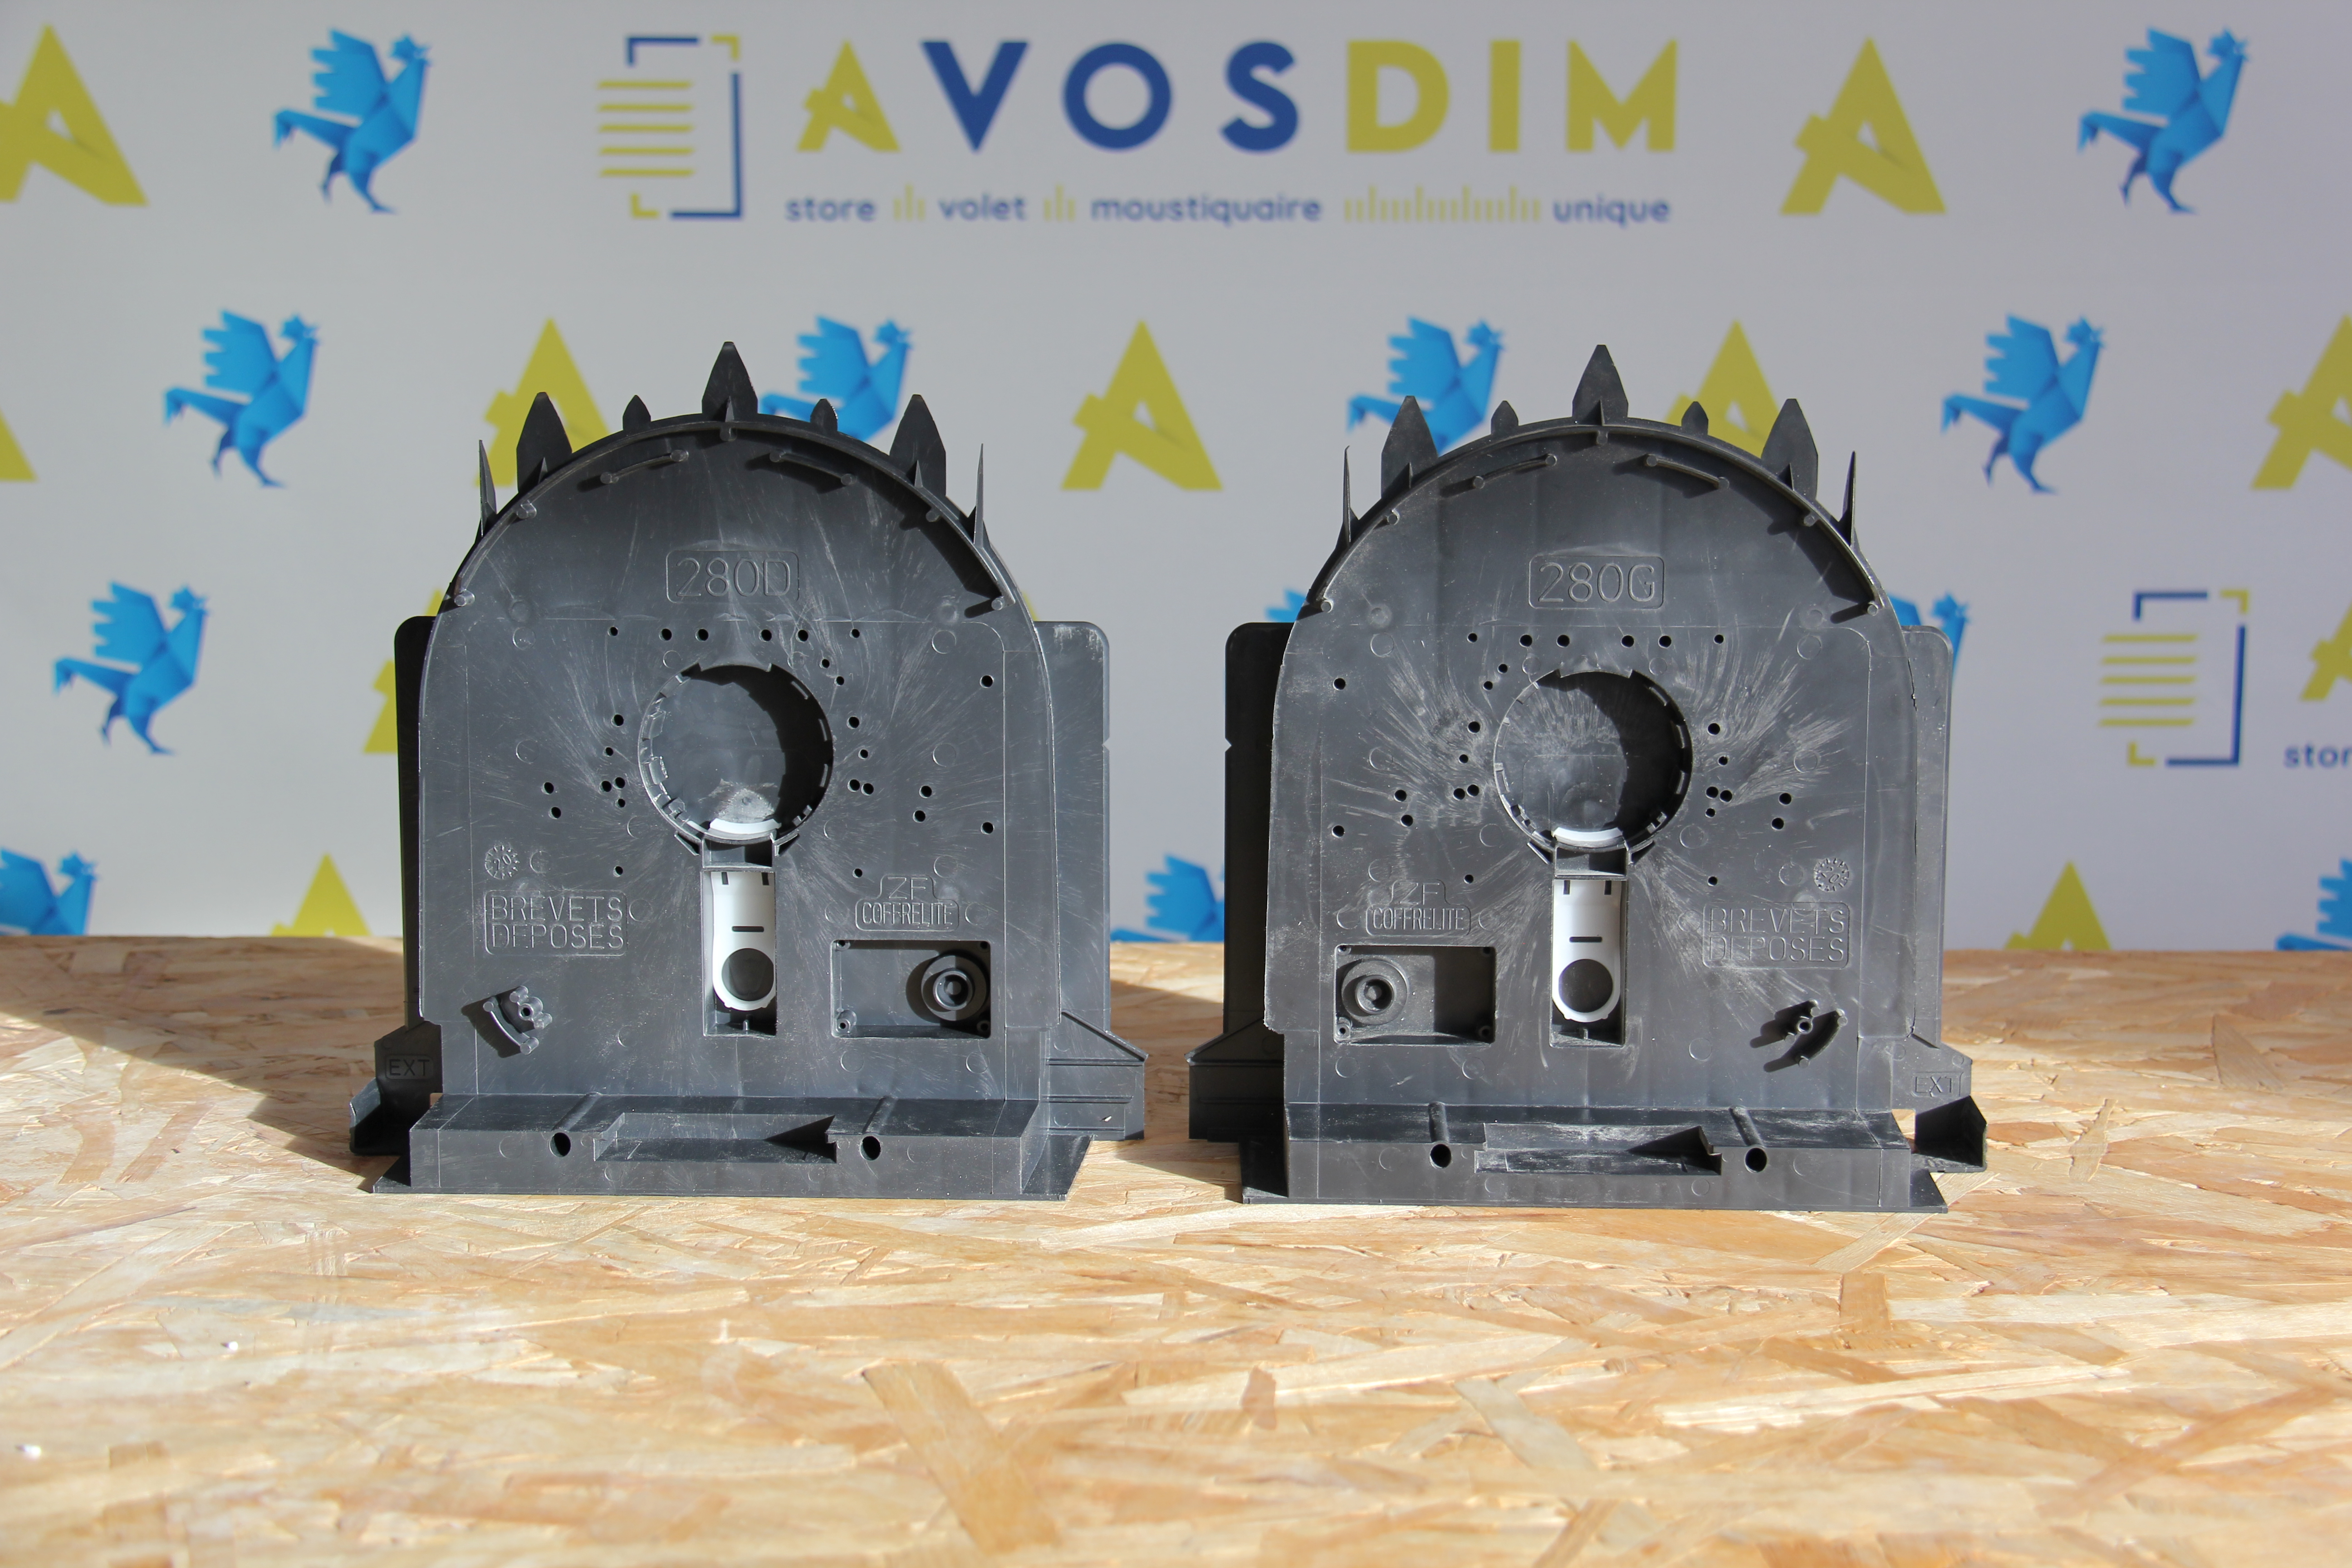
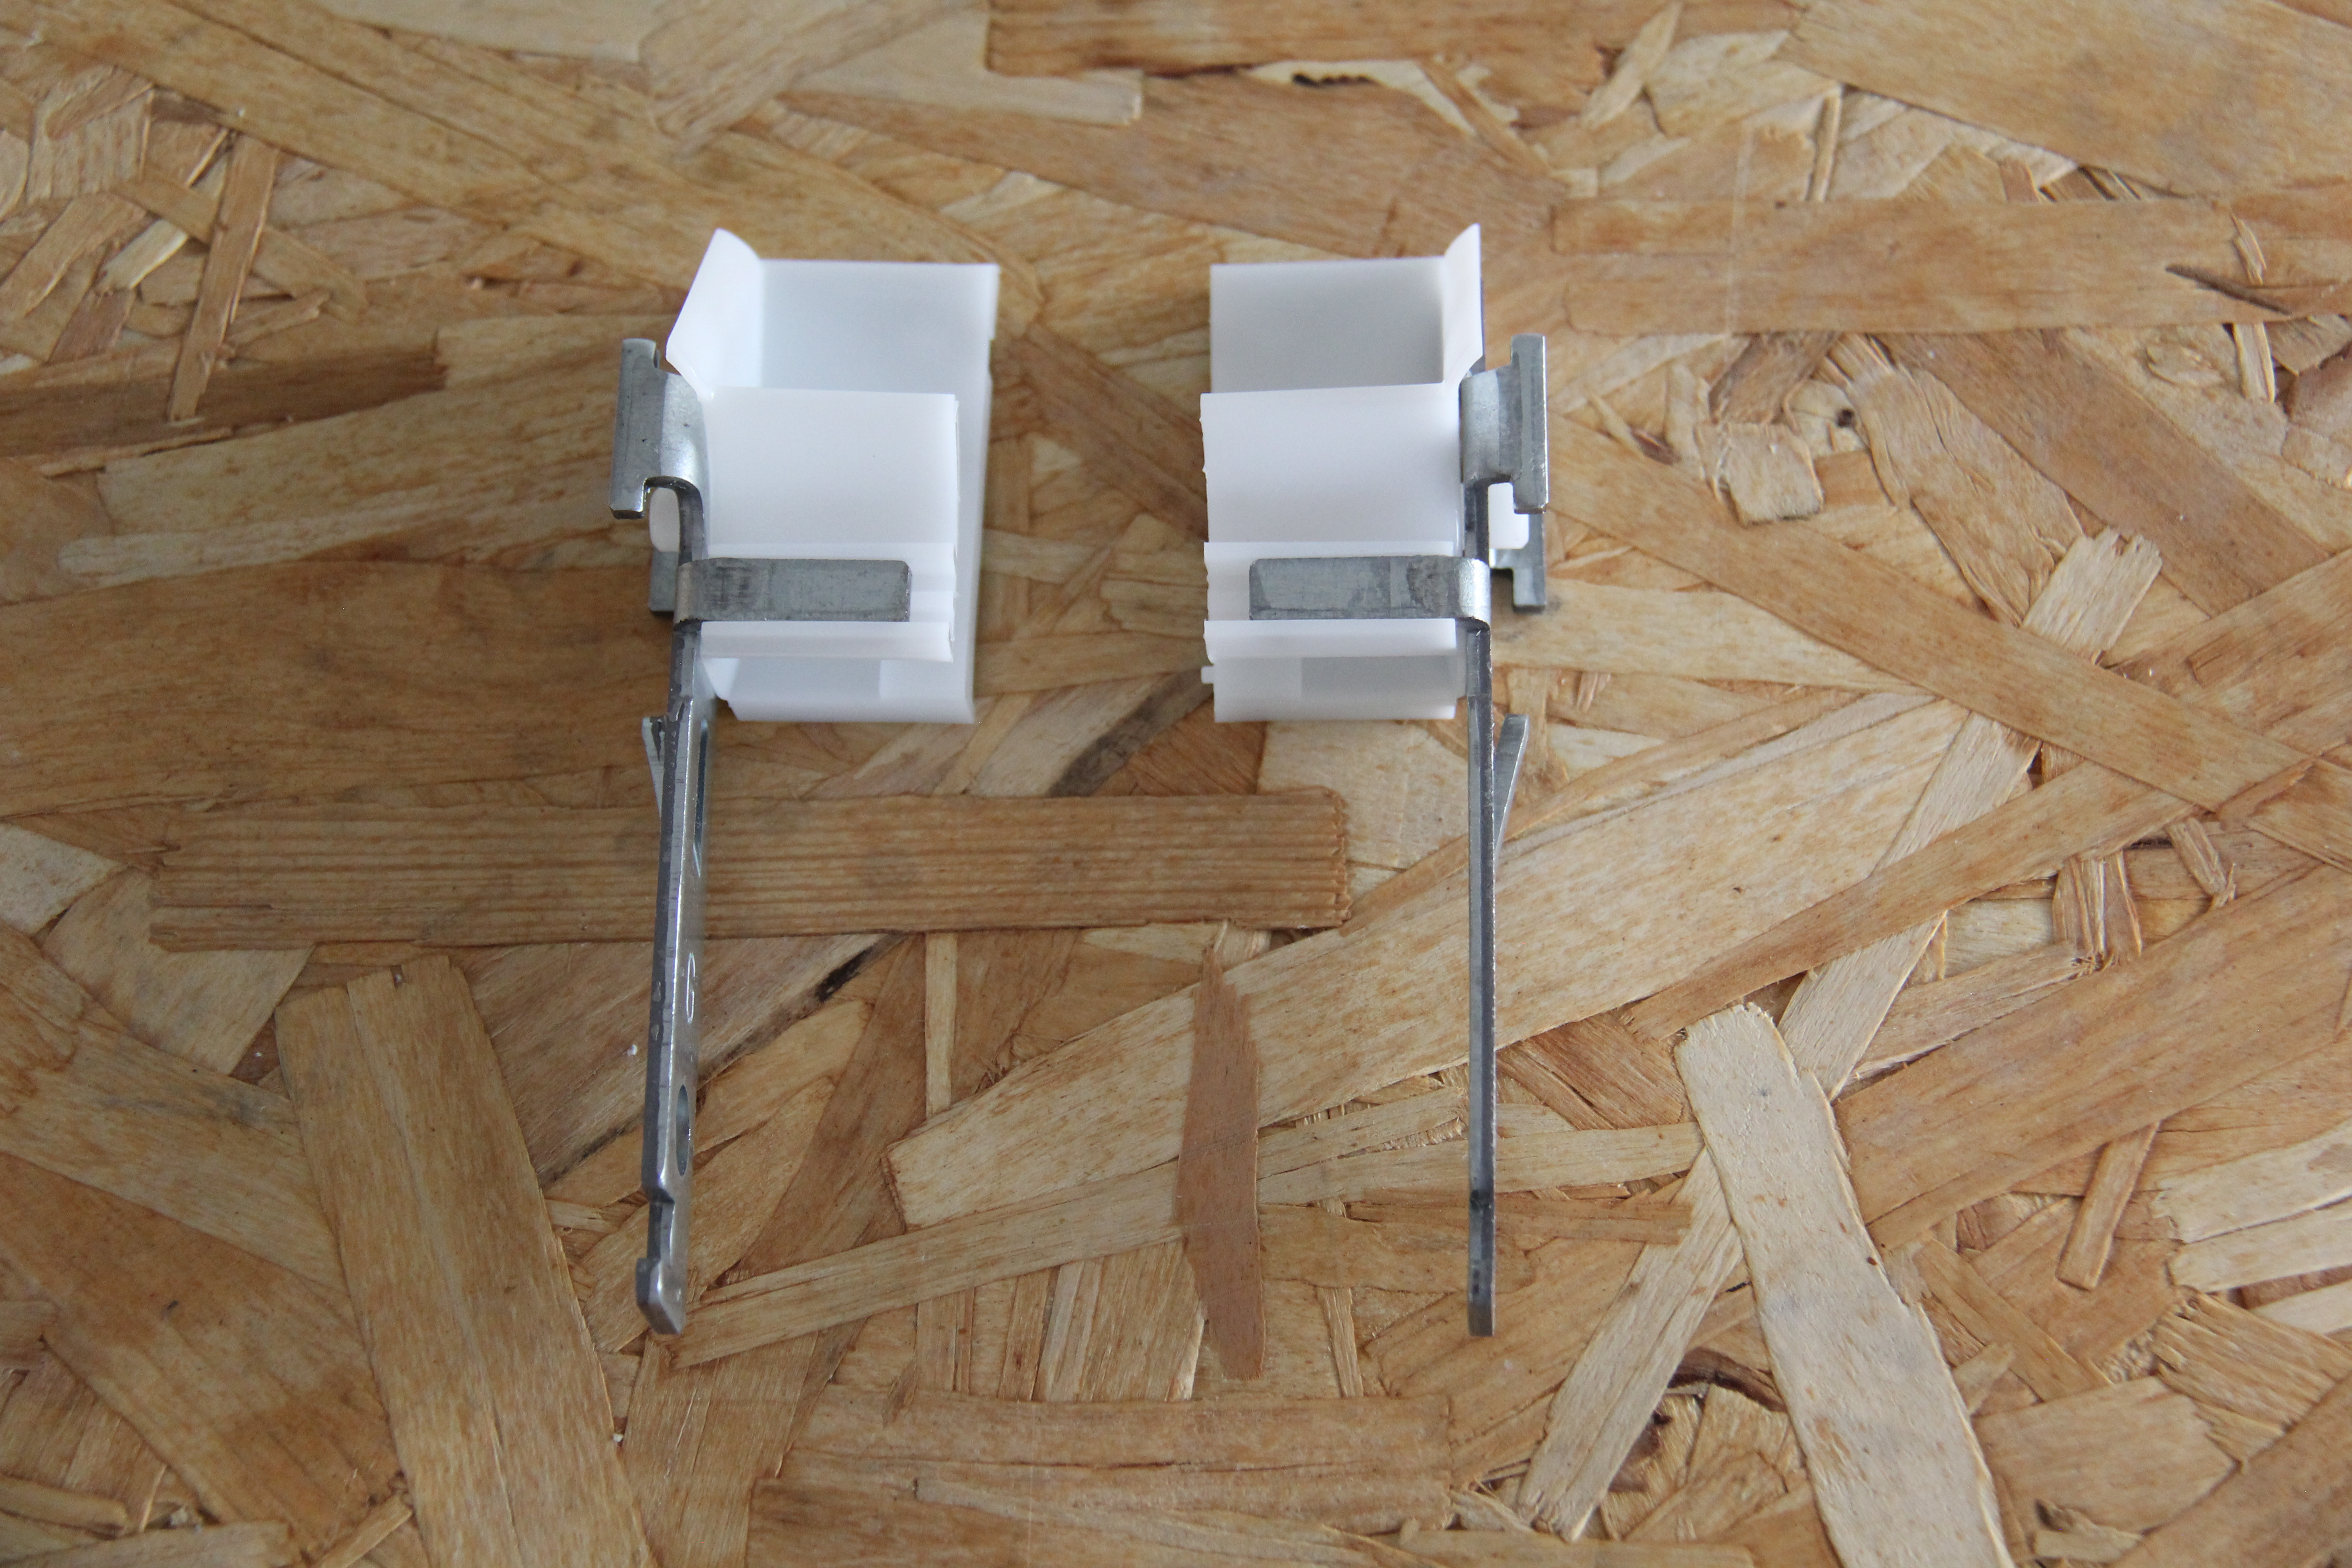
– Be careful, locate the left and right cheeks (see photo).
– Insérez d'abord la tête moteur jusqu'au clic. L'ensemble est alors verrouillé.

– Keep the same orientation
Notched left and right. Smooth top and bottom. (see picture)
– Repeat the operation on the non-motor side, inserting the tandem in the end plate in the same way until you hear a click.
Once in place, place the flange against the tube and tighten the nut.
Before starting, it is important to pay attention to the direction of the leg, there is a left and a right (see photo).
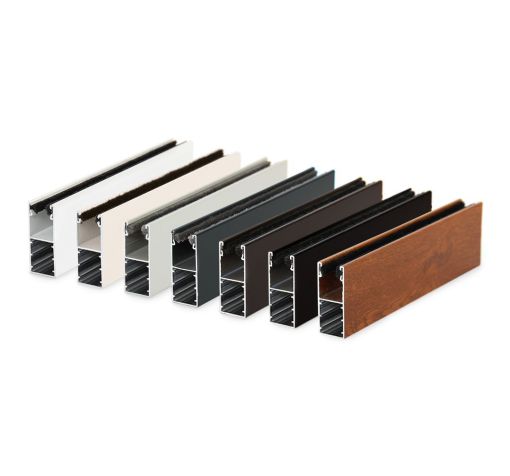
– Bring legs and tulips,
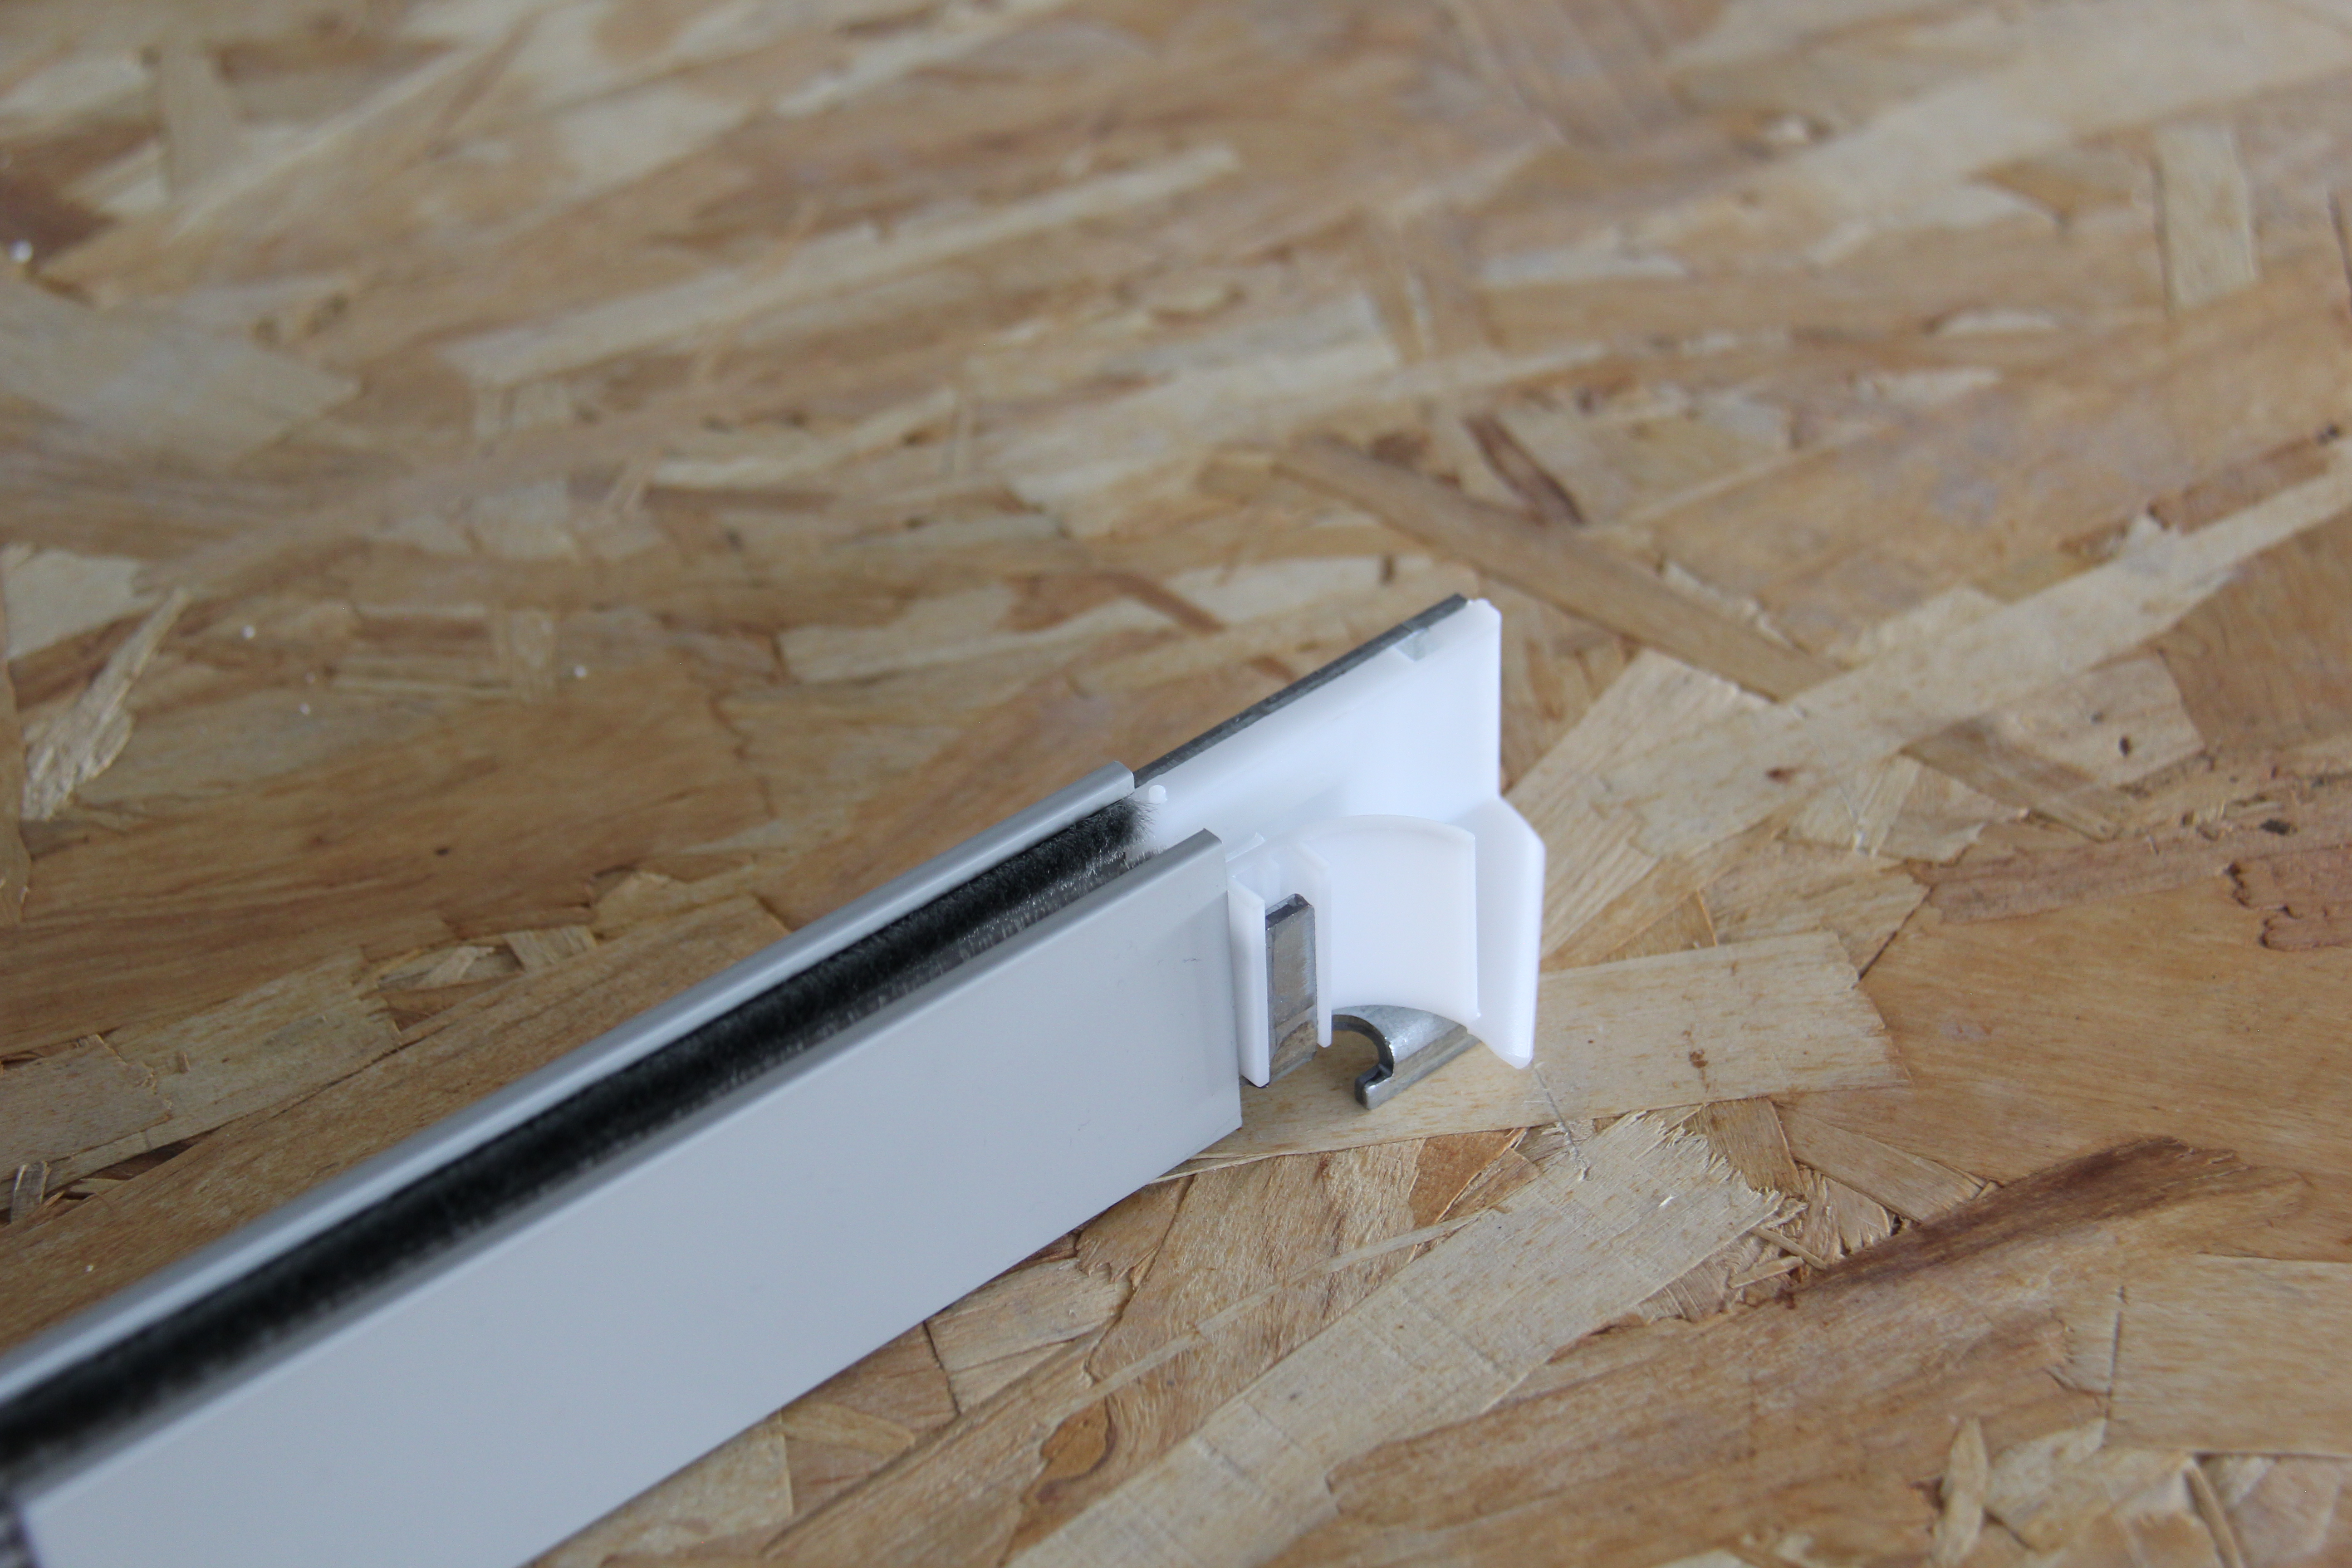
– Insert the tulip/blade guide (white part) on the metal bracket,
– Insert fully to the stop,
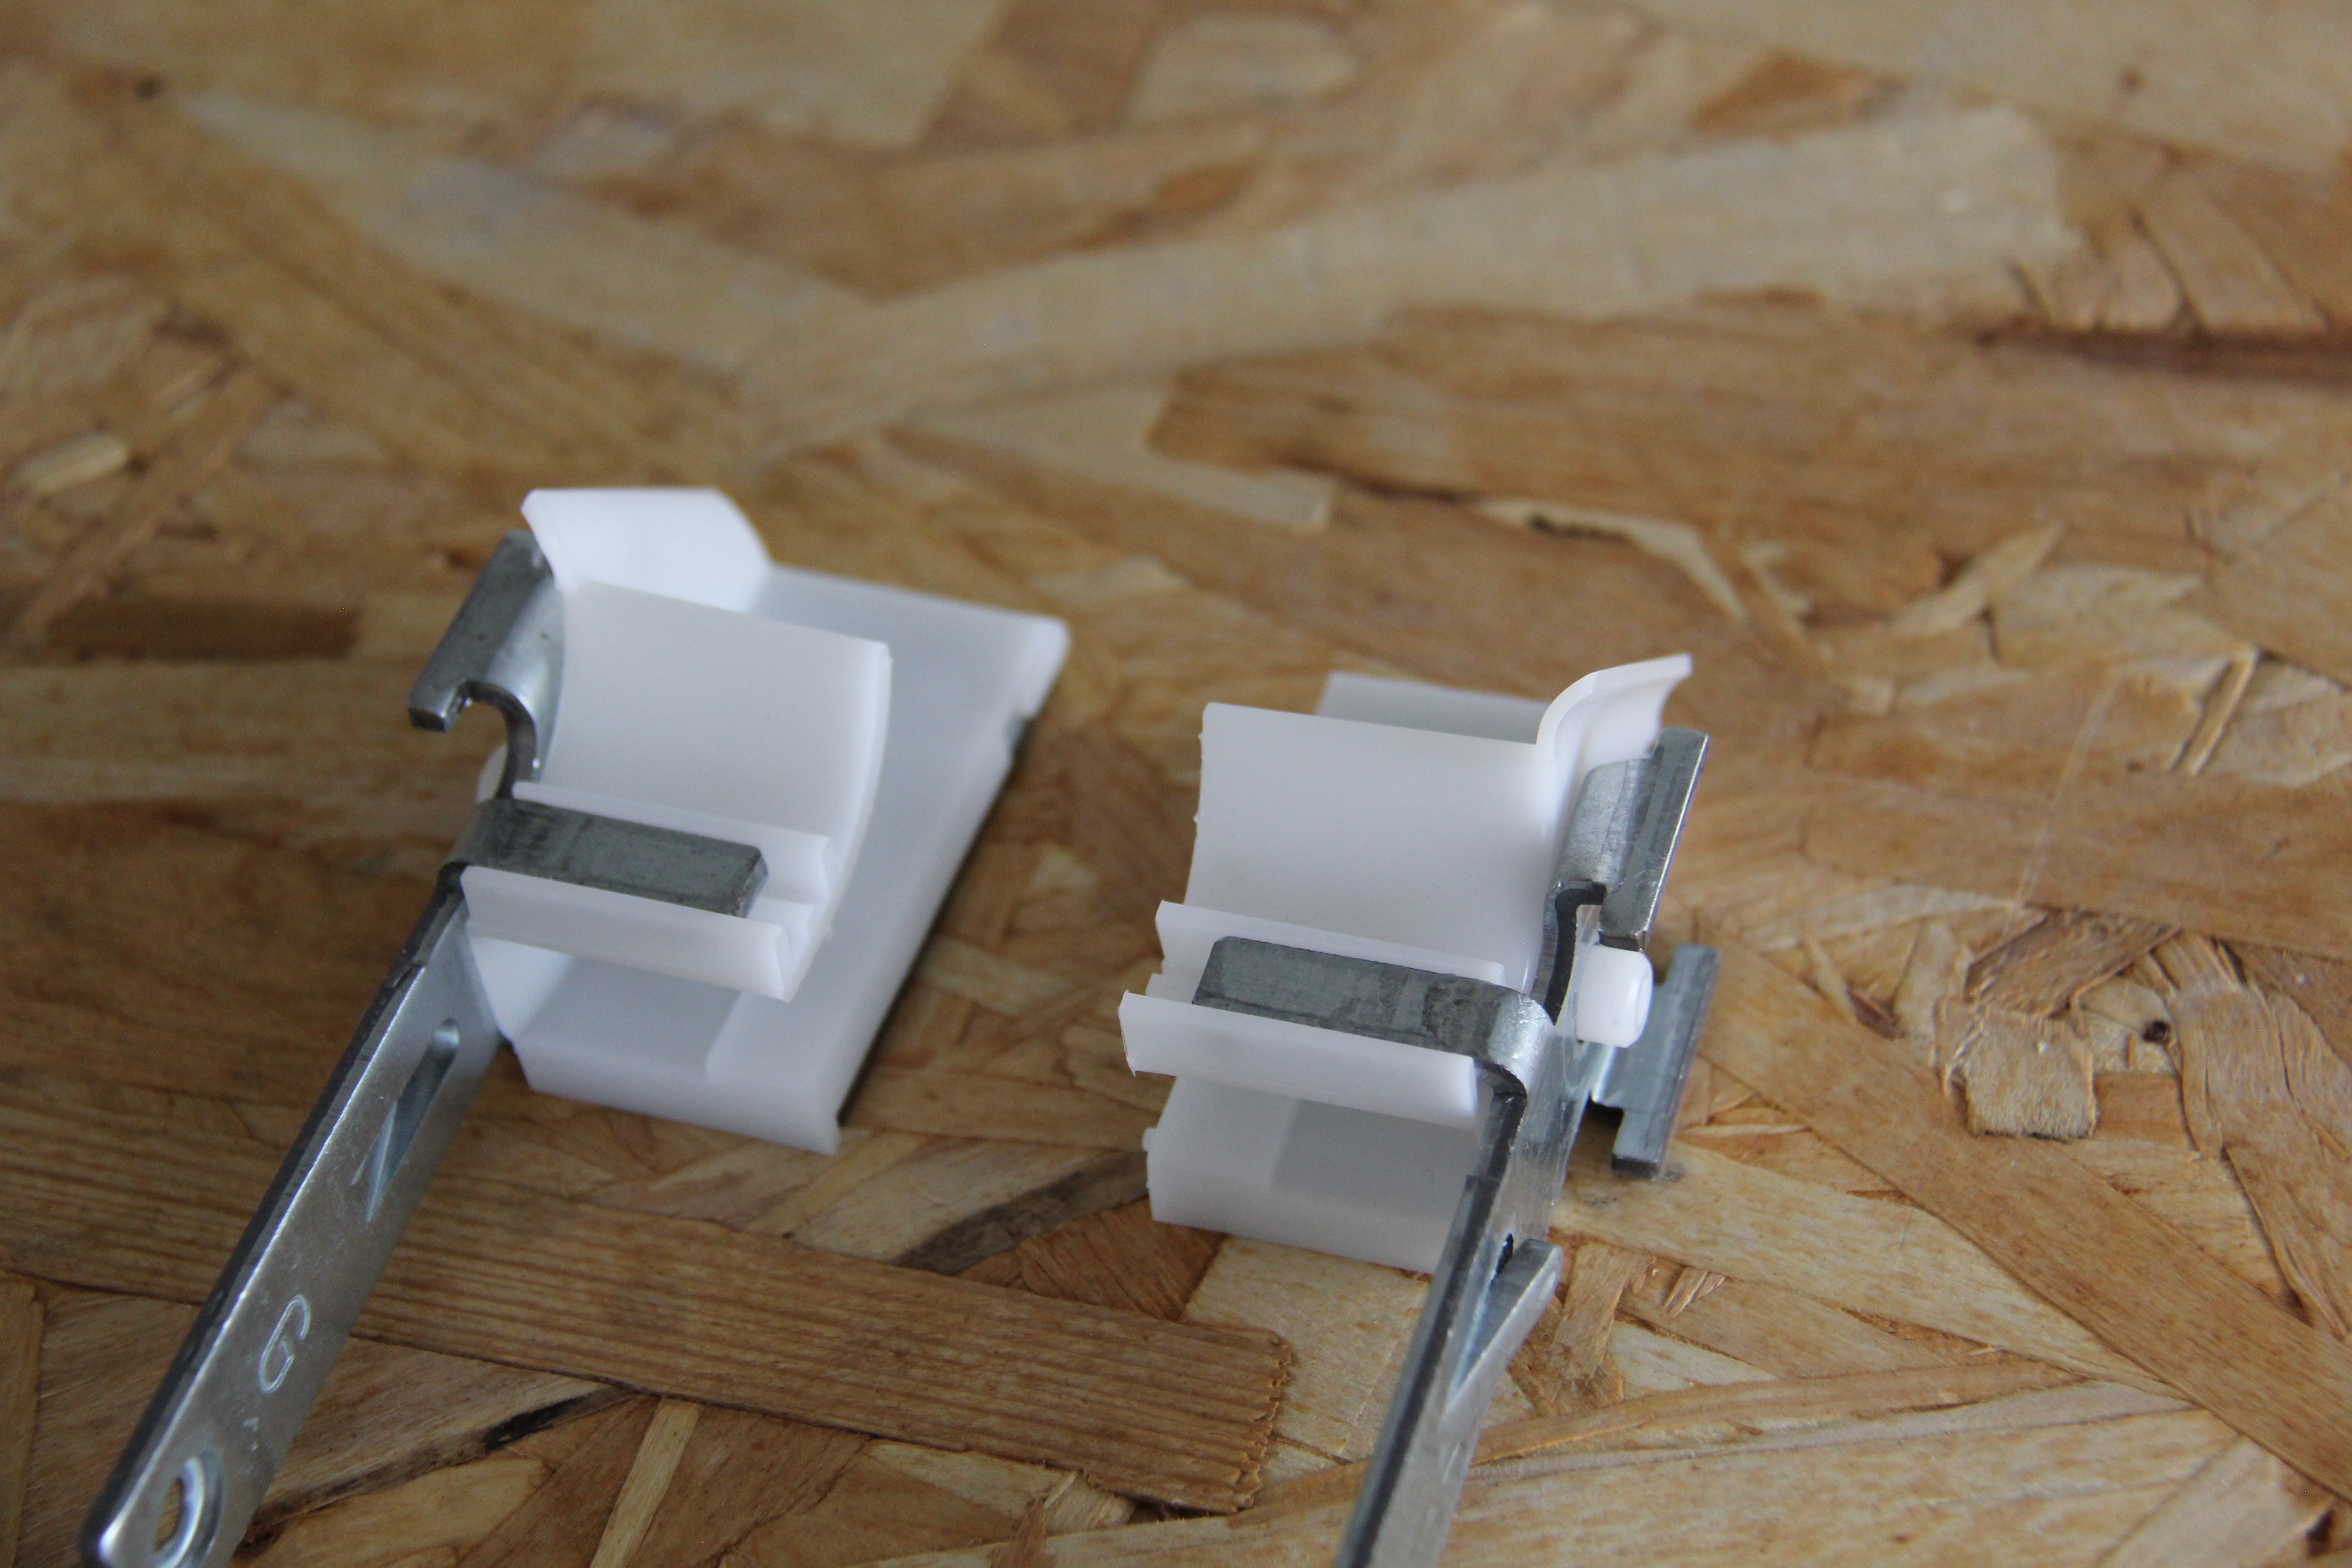
– Insert the tab in the chamber of the slide provided for this purpose.
– Insert fully until the retaining lug is no longer visible.
– Note that the tulip is against the slide.
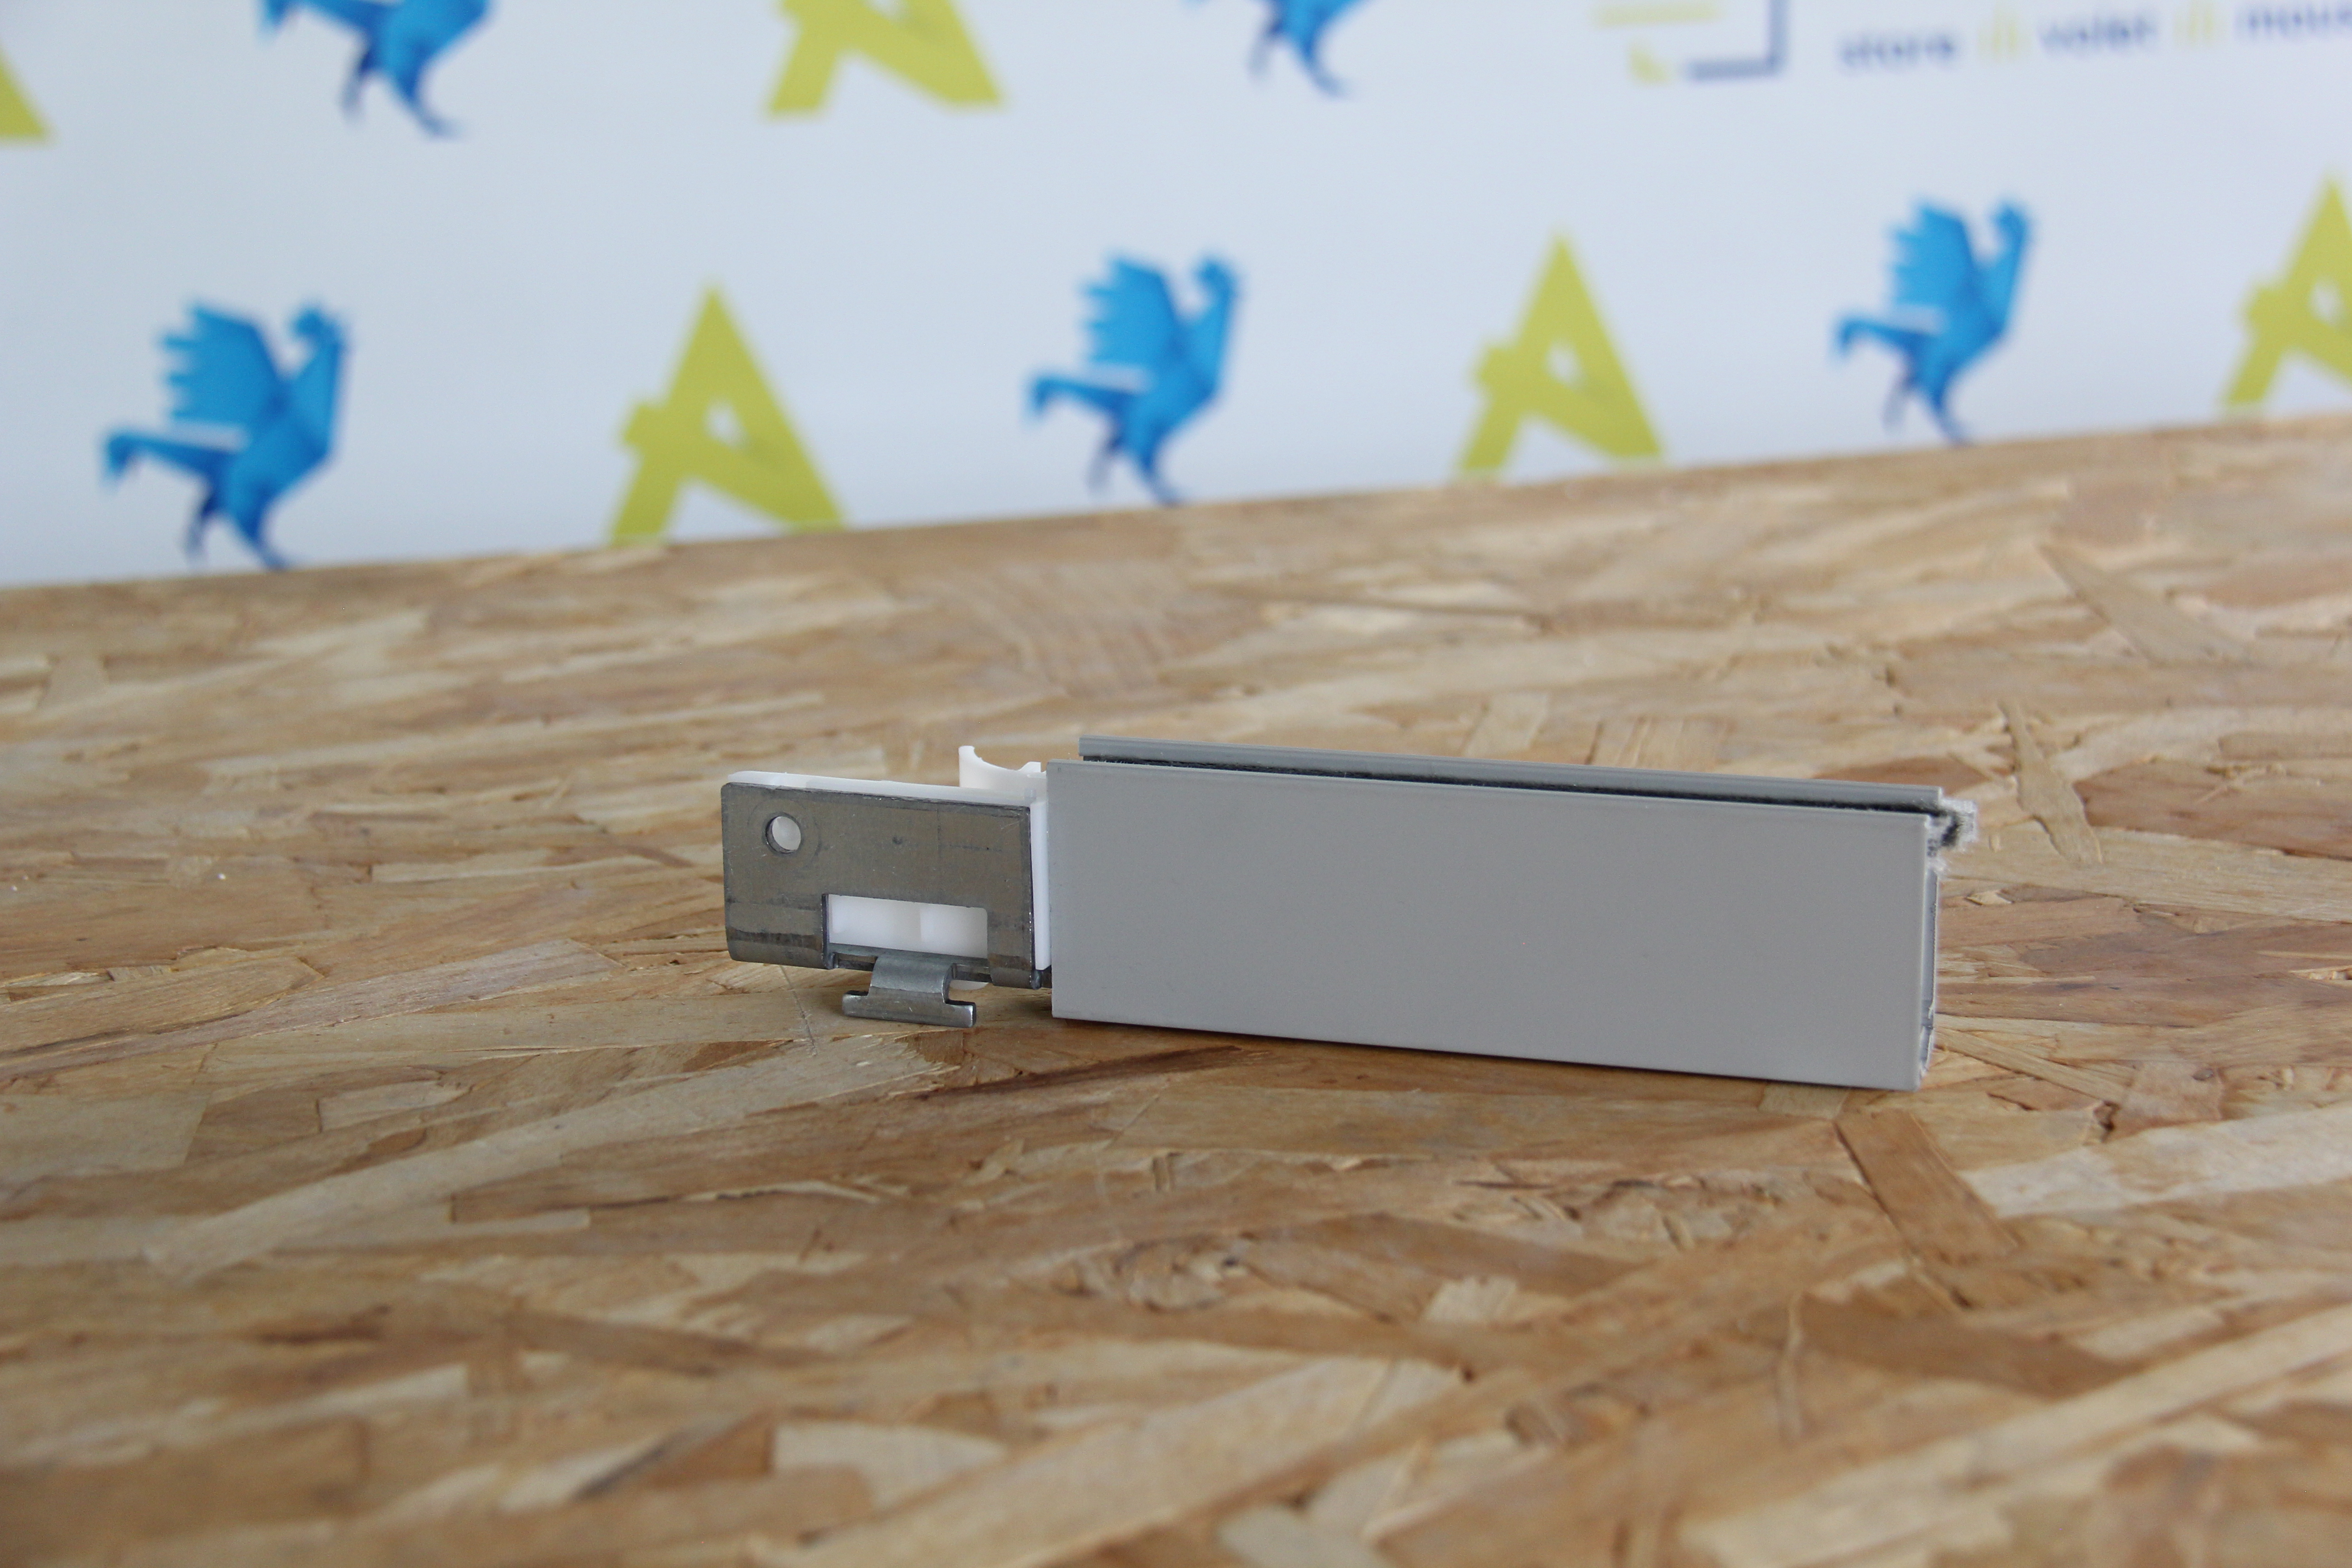
Voila, your tunnel chest is ready!
It's that simple!
Also interested in these?