Sign in with Facebook
  Sign in with Google
 In this video we show you how to transform your Manual Roller Shutter into a Motorised Shutter. We use the example of a 'Renovation' type Roller Shutter, which has it's own roller box. If your Roller Shutter is "Traditional" model type, with the mechanism integrated above the window, see the dedicated video by clicking HERE
Summary
-
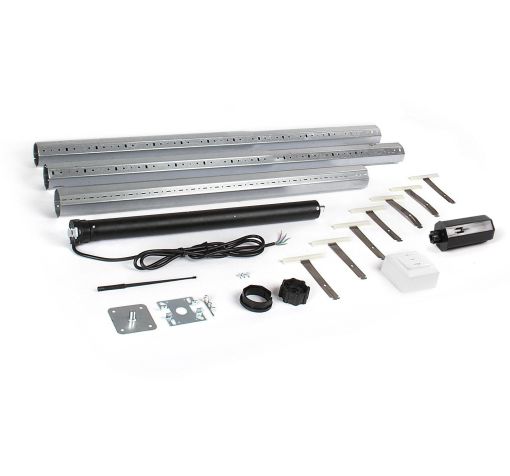
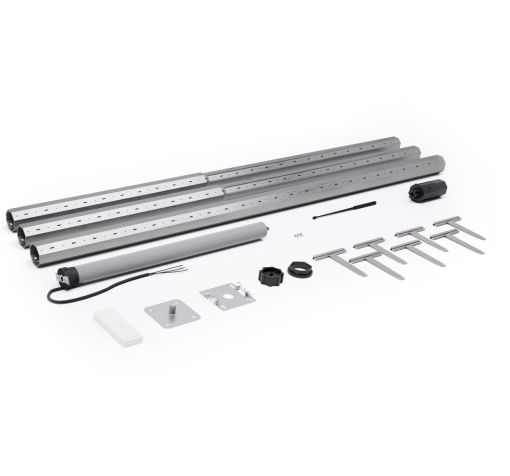
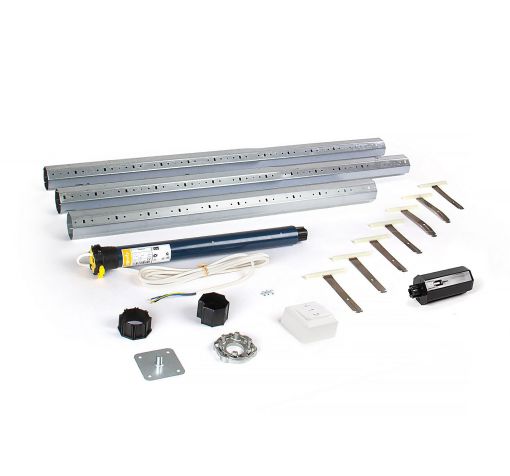
AvosDim motorised tube
-
Choose the motor type
-
Determine the strength brand
-
Select the motor strength
-
-
Electrical wiring
-
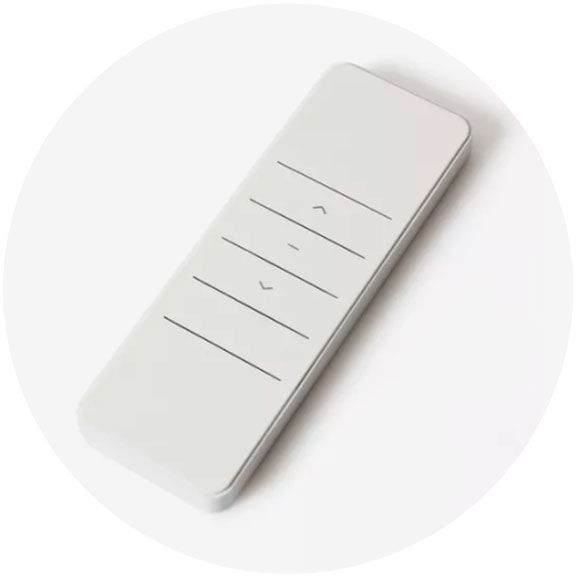
RF remote control motor
-
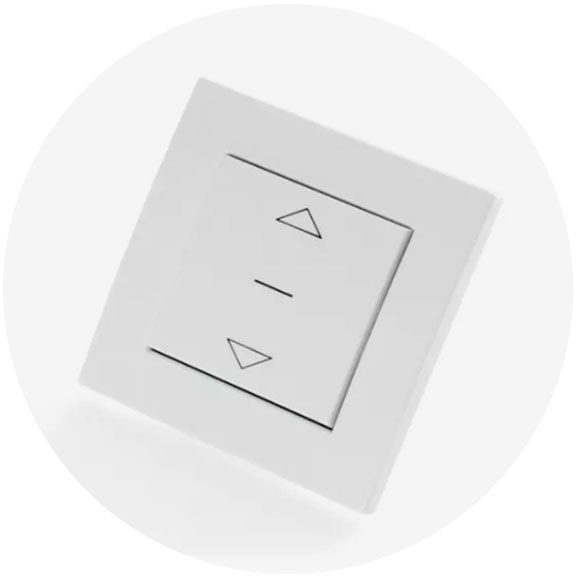
Switch control motor
-